Steps to Create Machine Learning Notebooks on OCI
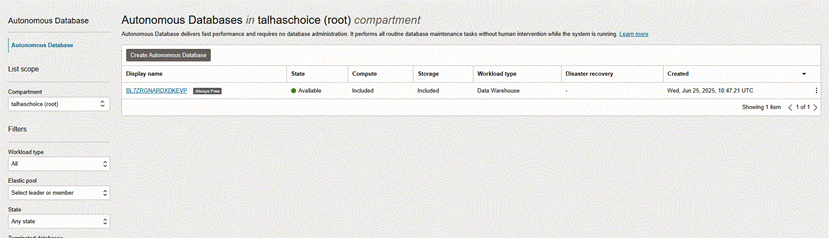
Step1: Create Autonomous Database
Step2: Fill the Display name and DB name
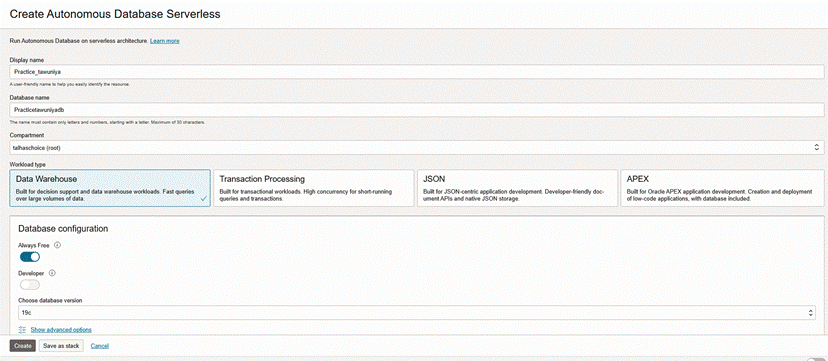
Step3: We are going with Always Free, select the option Always Free
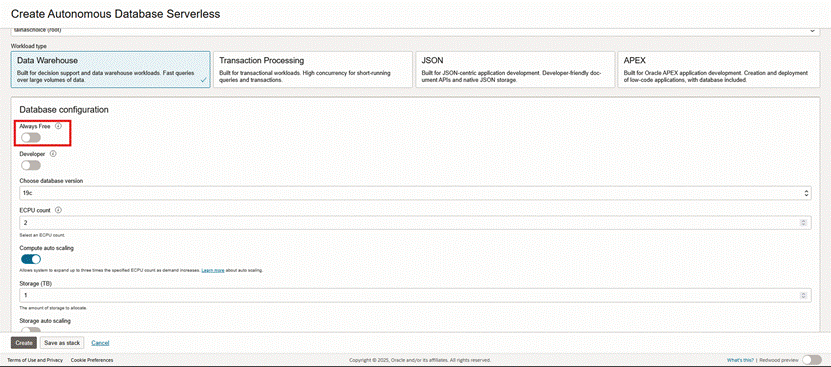
Note: Another option for low cost we can select Developer option and further as per requirement we can update it to paid version.
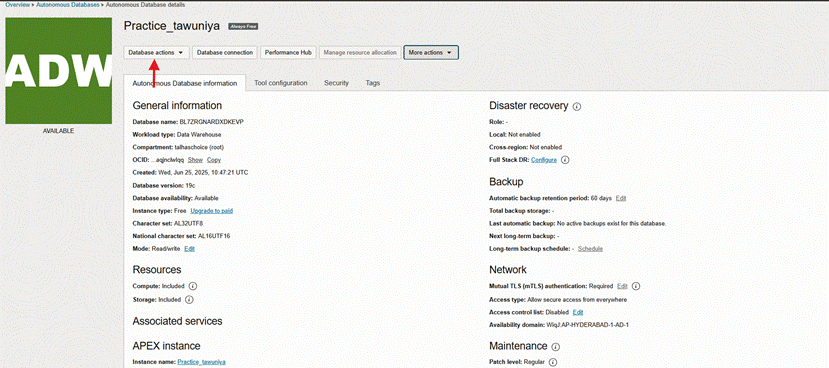
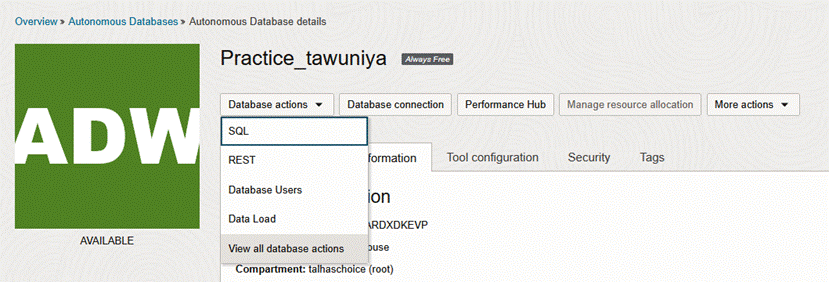
Step-4: Wait until it comes to the running state and click Database actions for accessing ML Notebook
Step-5: Click on “view all database actions”
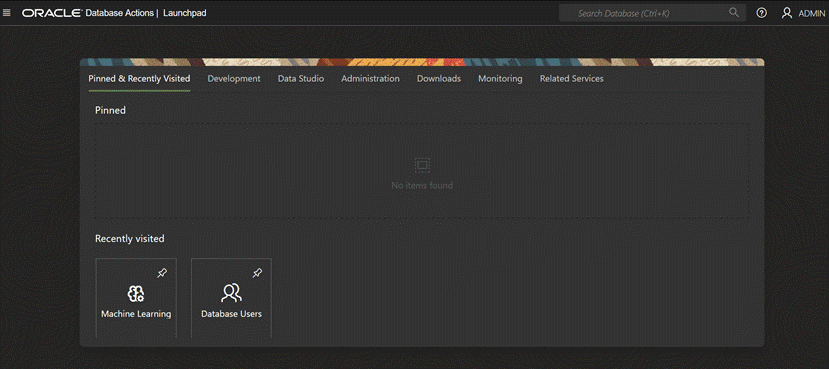
A new console will pop up
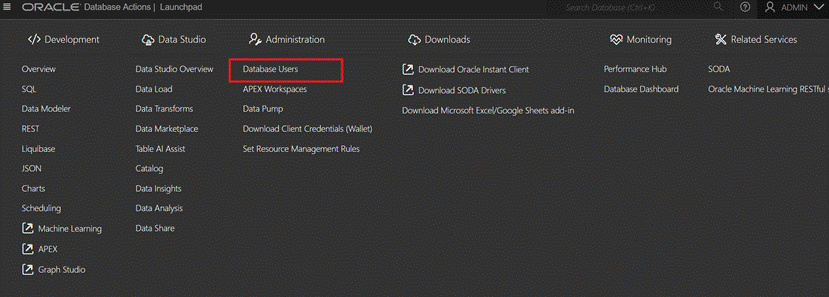
Step-6: To create a new user click on menu

Step-7: Select the database users option in Administration
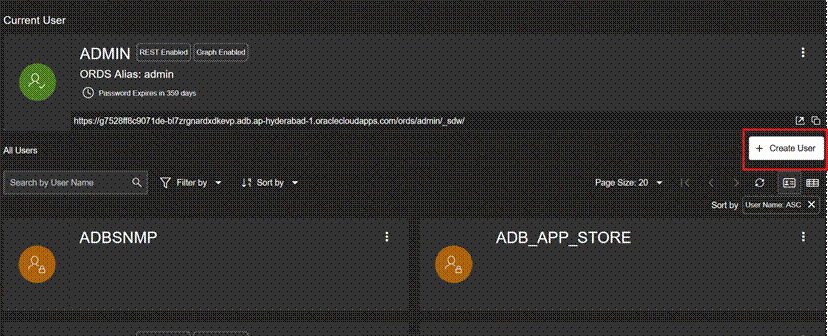
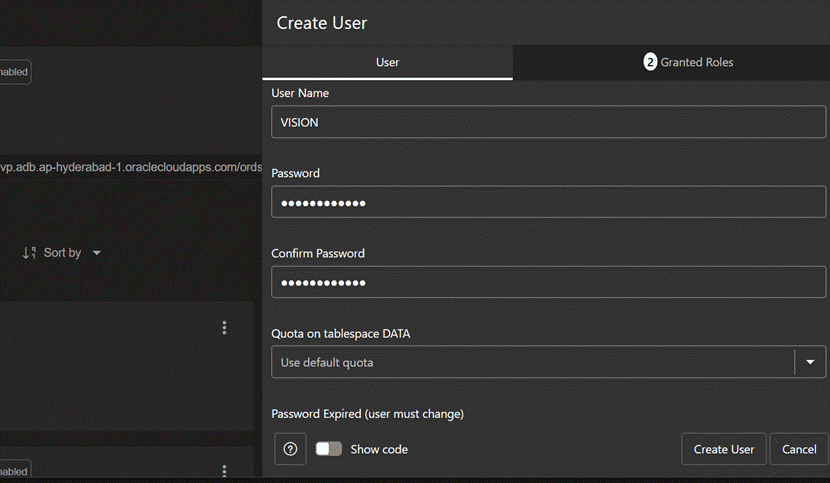
Step-8: Click Create user
Step-9: A new tab will open provide all the
Step-10: Select Quota for user: UNLIMITED
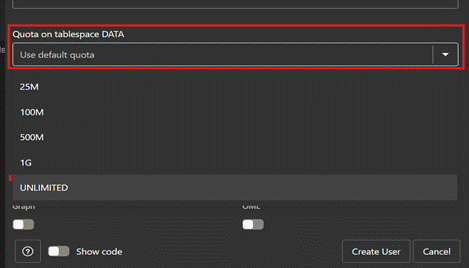
Note: We are selecting Unlimited Option but it may differ upon user usage
Step-11: Enable OMLand REST, GraphQL, MongoDB API, and Webaccess and click on Create User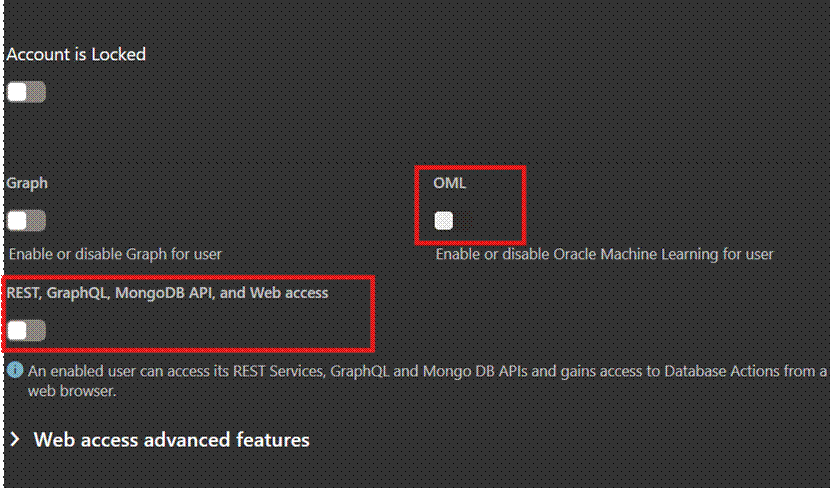
Note: Provide privileges as per the user role
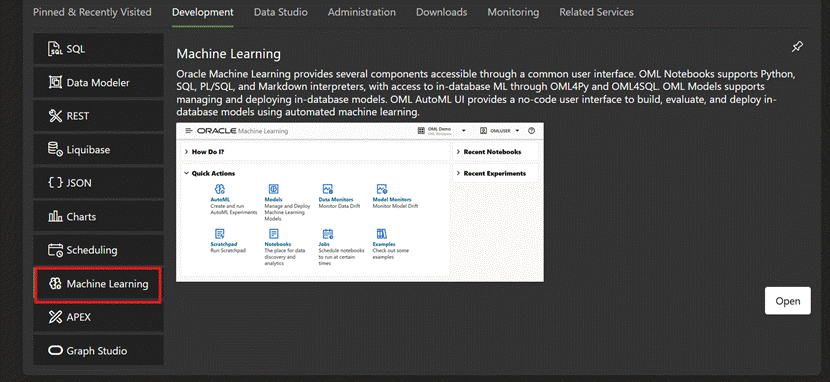
Step-12: Click on Development
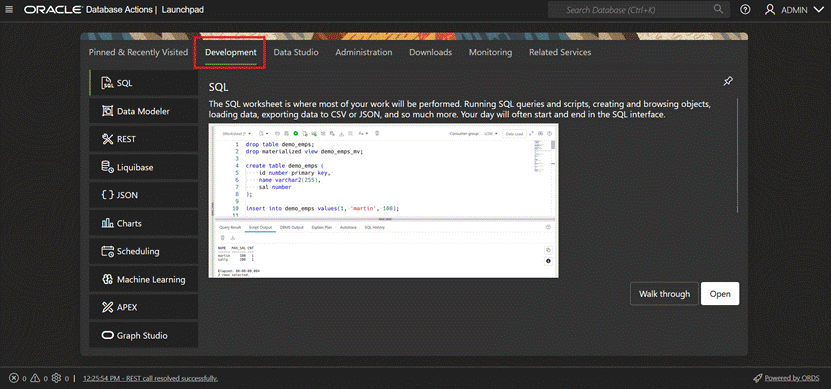
Step-13: Click on Machine Learning
Note: While creating Autonomous Database by default it creates the ADMIN account but it can be use the its doesn't have much access so we are creating new named “VISION”.
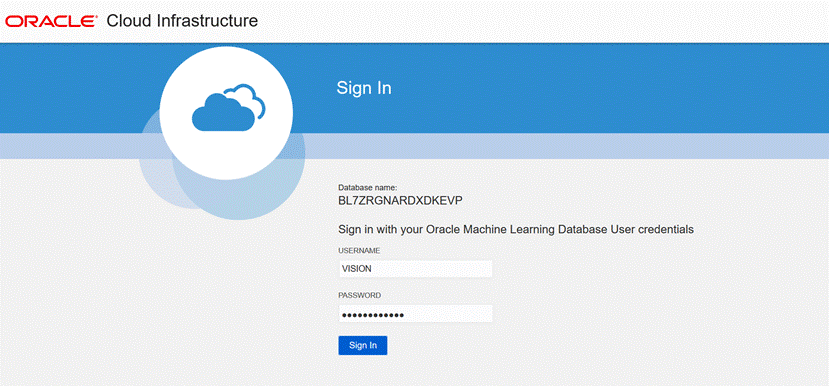
Fill the Credentials
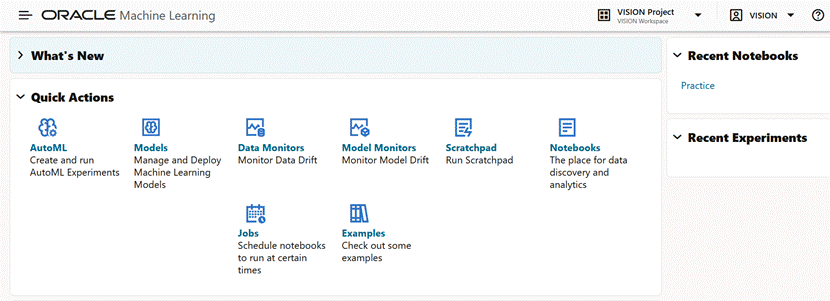
Wow! what an achievement, now we are in Machine Learning console
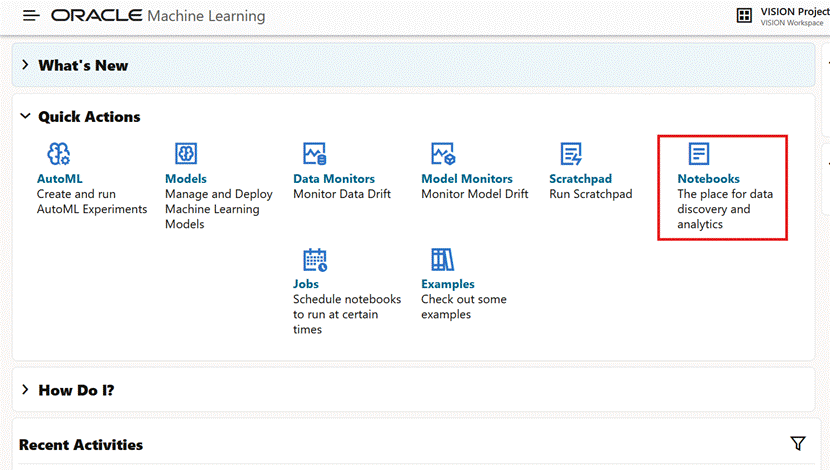
Click Notebooks
Thanks,
Muhib Ali Qureshi