GoldenGate Plugin on OEM-13C
Brief Steps:
Step-1: Deploying the Plugin
Import the Plug-In archive:
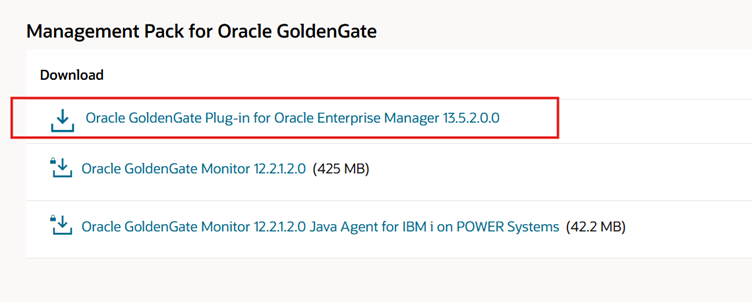
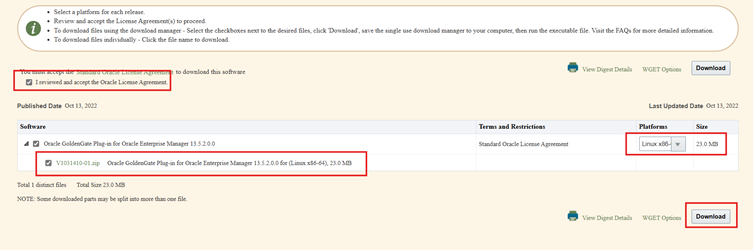
Download the GoldenGate plugin from the below URL:
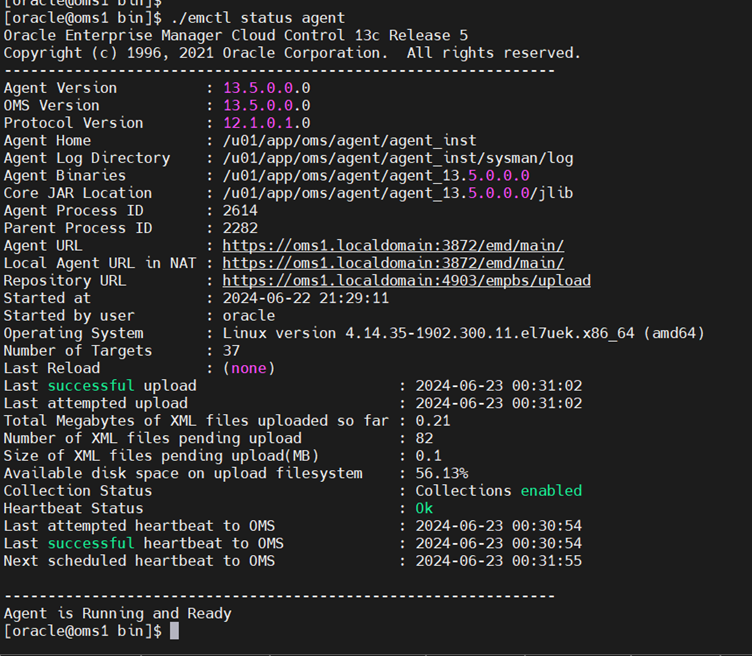
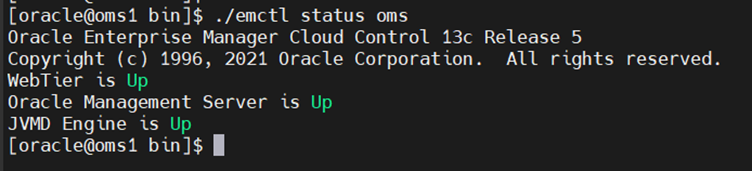
Check the OMS and agent status on OMS server
Now import the plugin archive
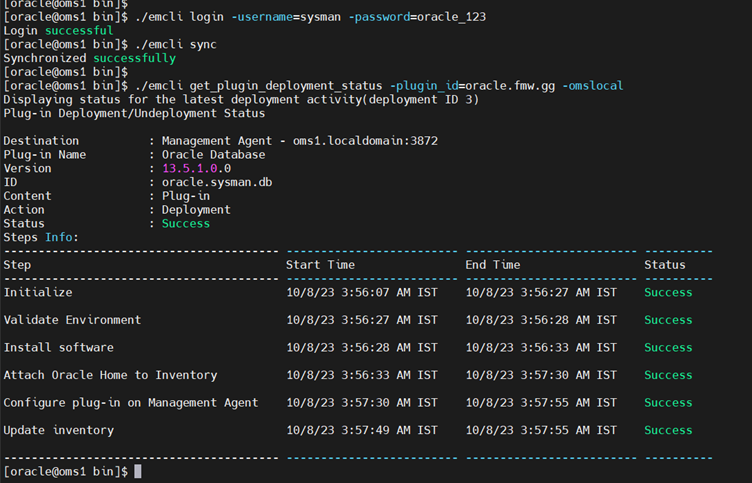
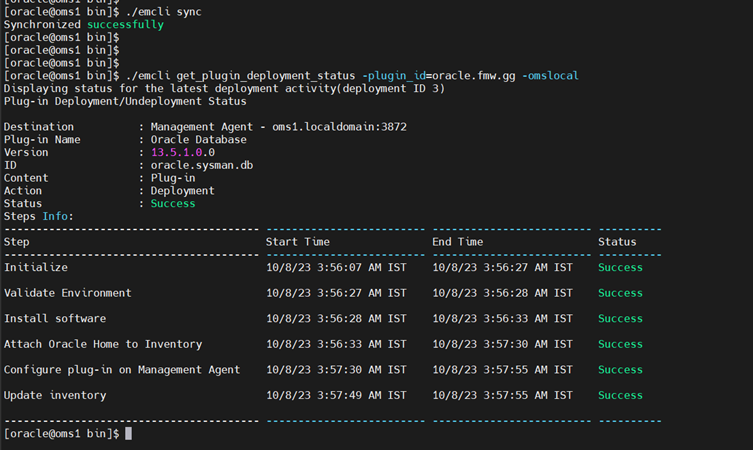
emcli login -username=sysman -password=oracle_123
emcli sync
emcli get_plugin_deployment_status -plugin_id=oracle.fmw.gg -omslocal
Copy the plugin zip to a stage directory and unzip the file
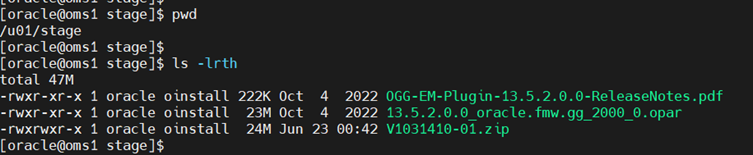
Now import the plugin file (ending with. opar)
emcli import_update -file=/u01/stage/13.5.2.0.0_oracle.fmw.gg_2000_0.opar -omslocal
Login to OEM Console to complete the deployment 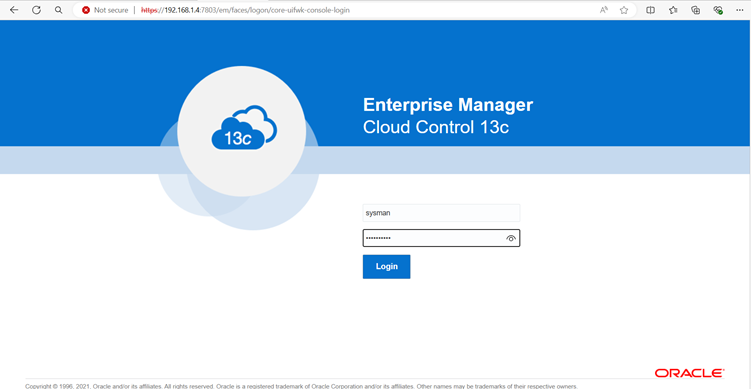
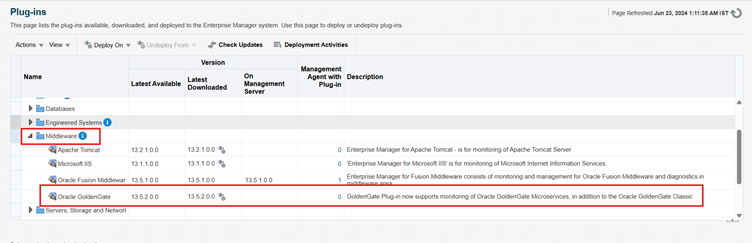
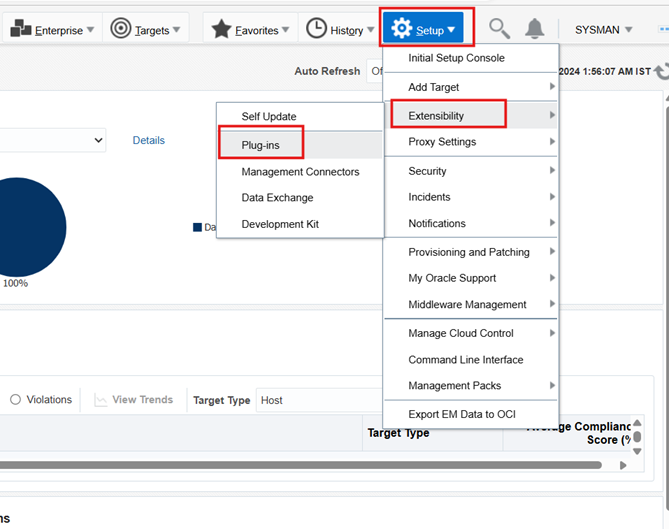
Select Status, Extensibility and then Plug-ins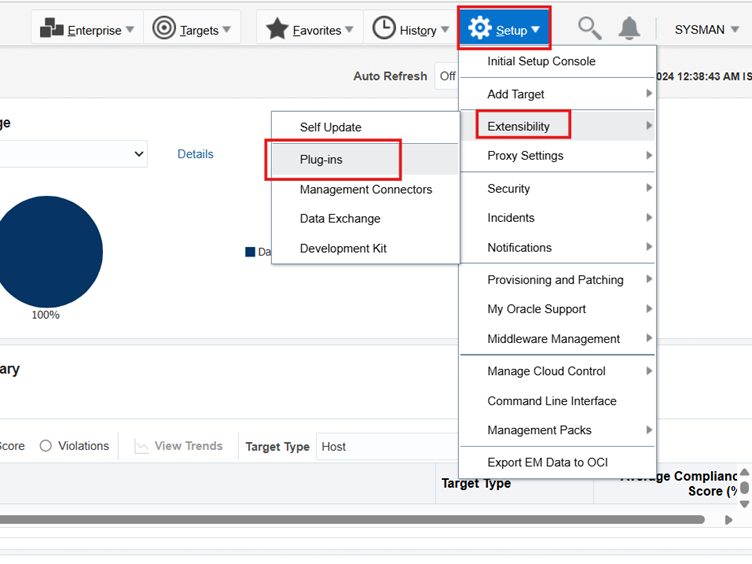
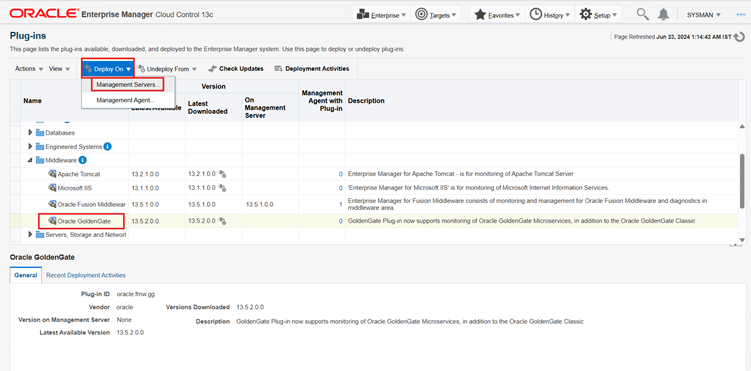
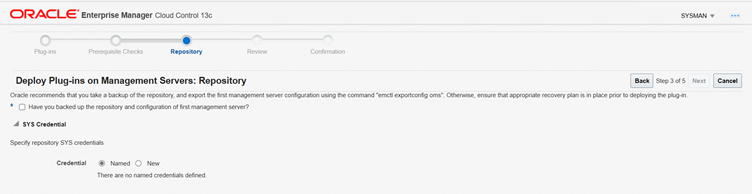
Extend Middleware and Select GoldenGate, Deploy on then Management servers
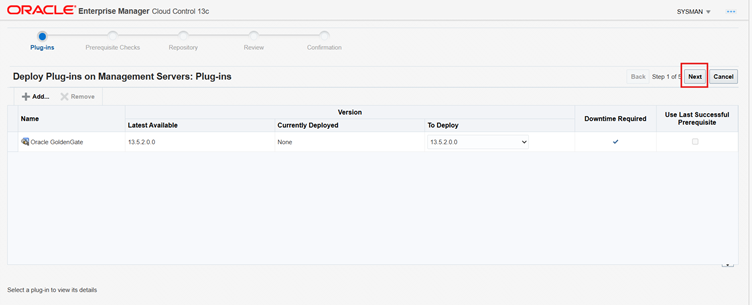
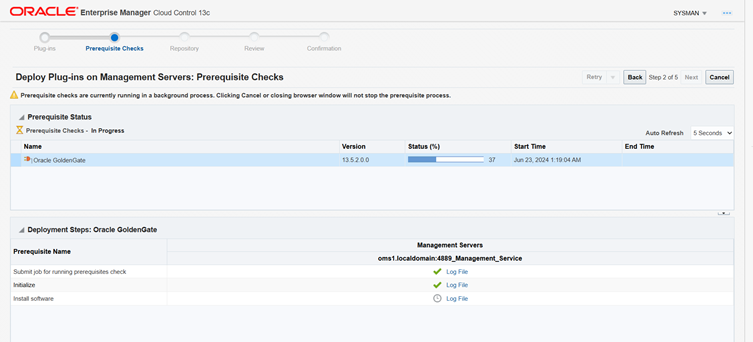
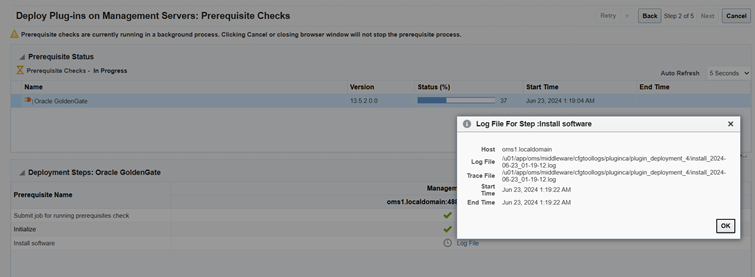
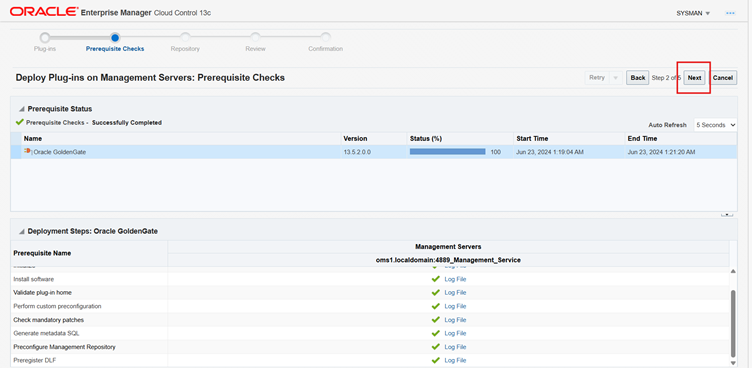
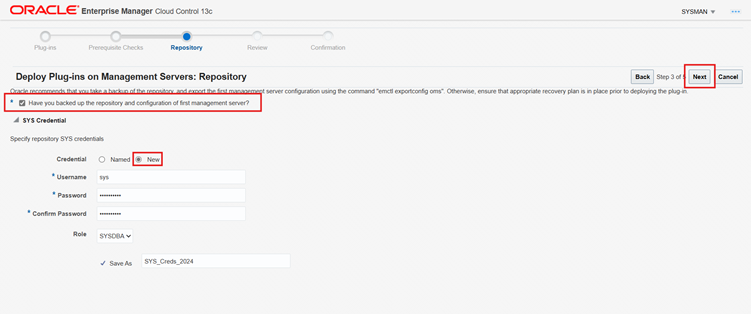
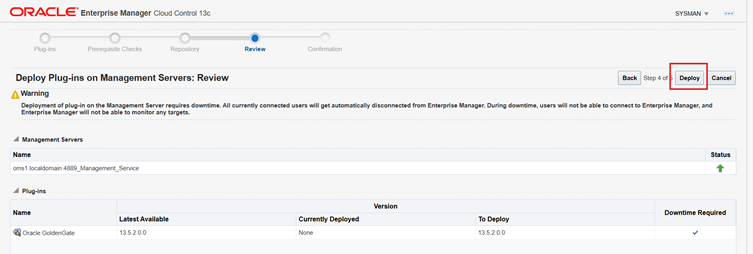
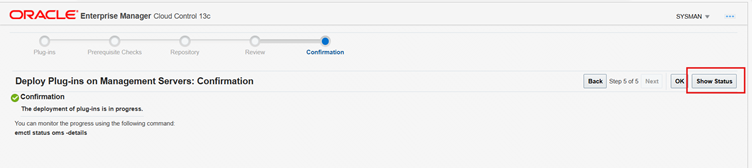
Note: Deployment usually takes about 10 minutes to complete. During this time, all connected users are disconnected from Enterprise Manager. Even though the confirmation page displays, clicking Show Status displays This webpage is not available while deployment of the plug-in progresses.
Deploy the Plug-In to the Management Agent:
Select Status, Extensibility and then Plug-ins
Now select Extend Middleware and select GoldenGate, Deploy on then Management Agent
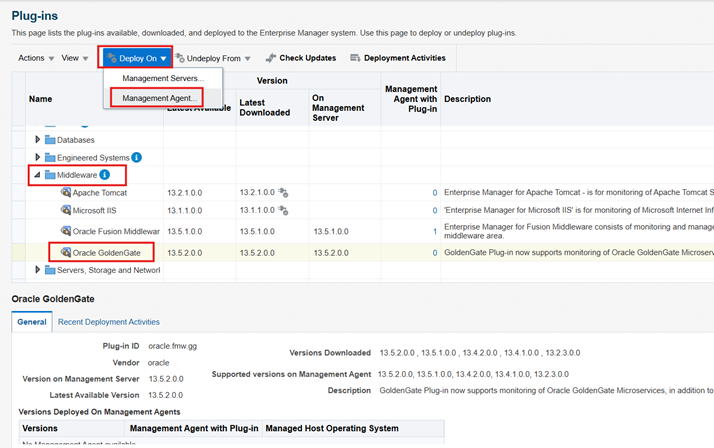
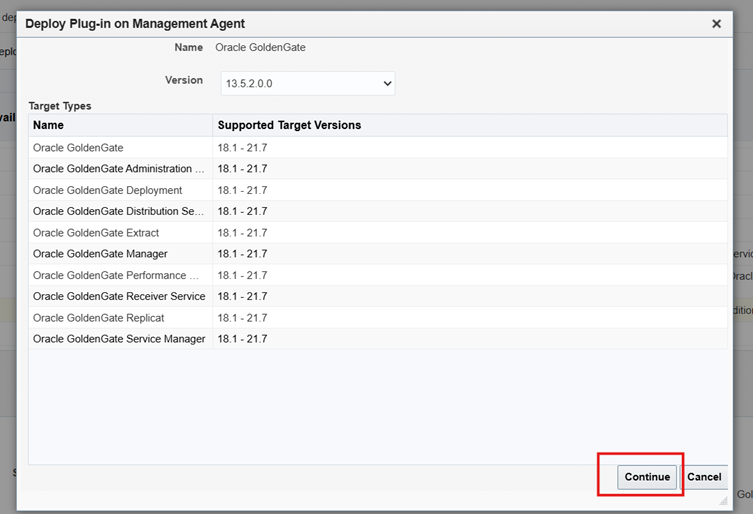
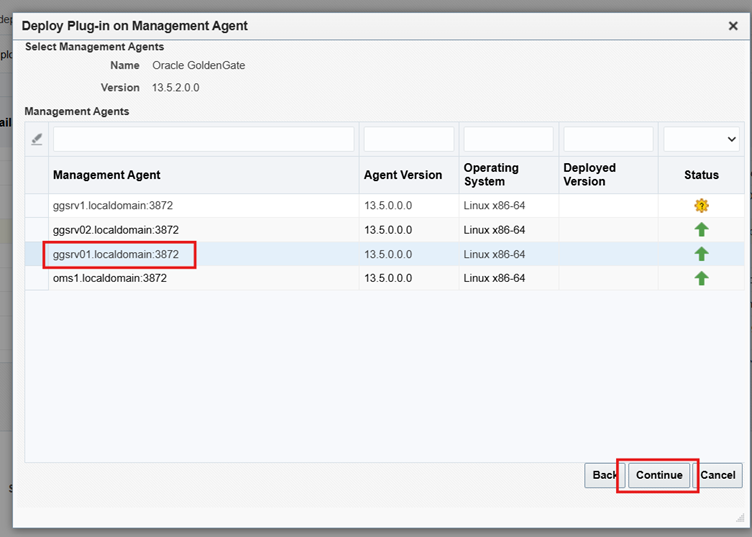
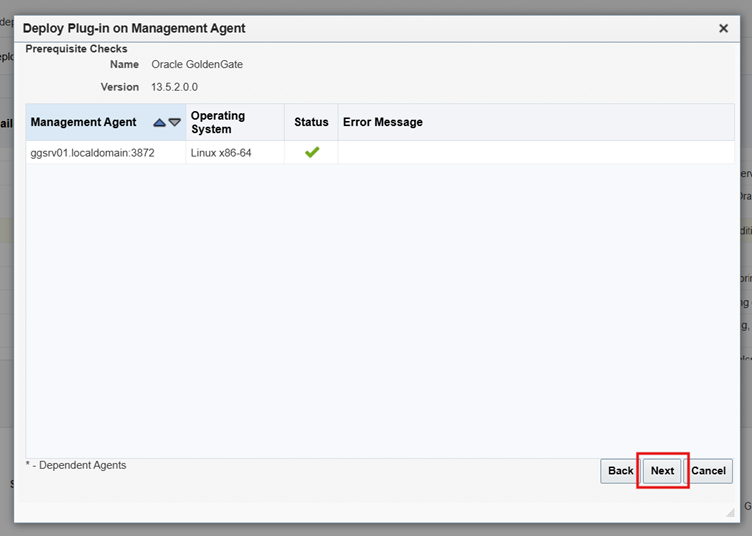
Click Deploy

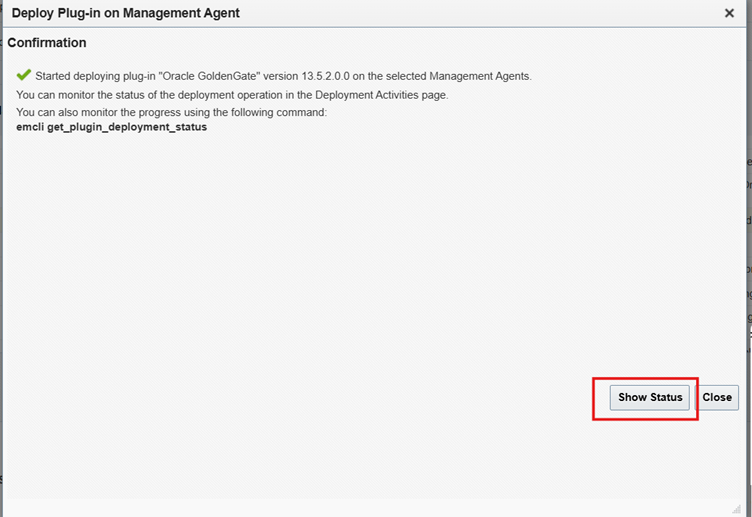

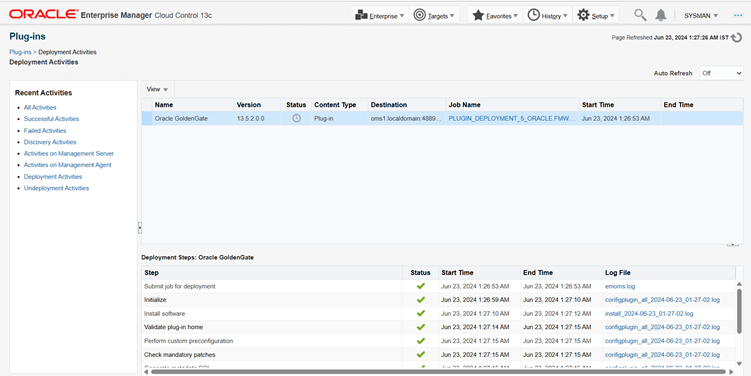
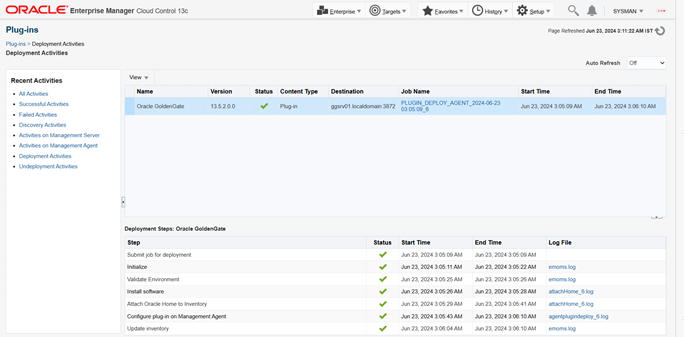
Deployment Complete
Step-2: Setting Up Enterprise Manager Plug-In for Oracle GoldenGate
Now download GoldenGate Monitor 12.2.1.2.0: 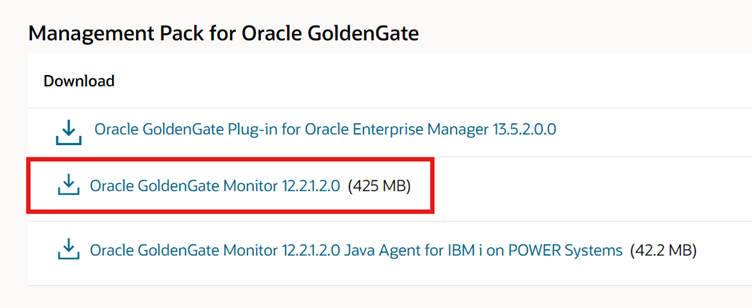
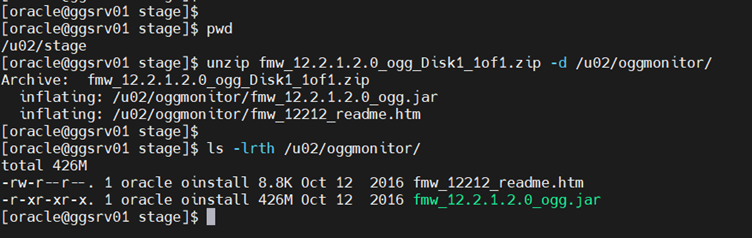
Copy the zip file to a staging directory and unzip the file.
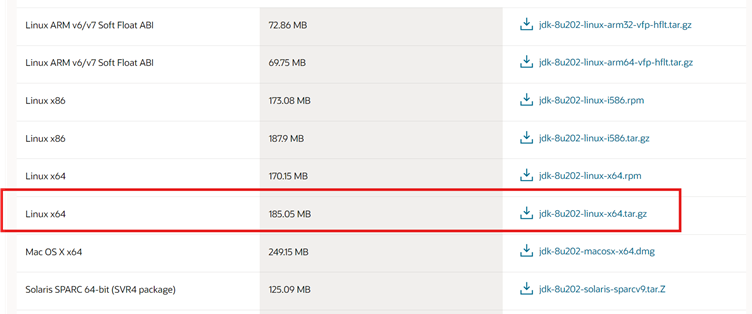
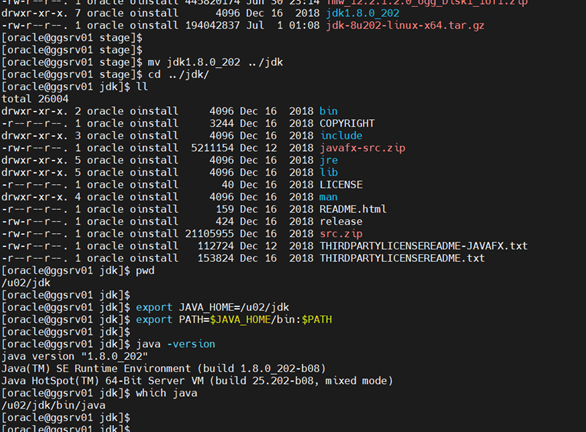
Make sure to have jdk-8u202+ in installed.
Download link: Java-8u202
Now untar the file and rename as jdk and set the JAVA_HOME & PATH.
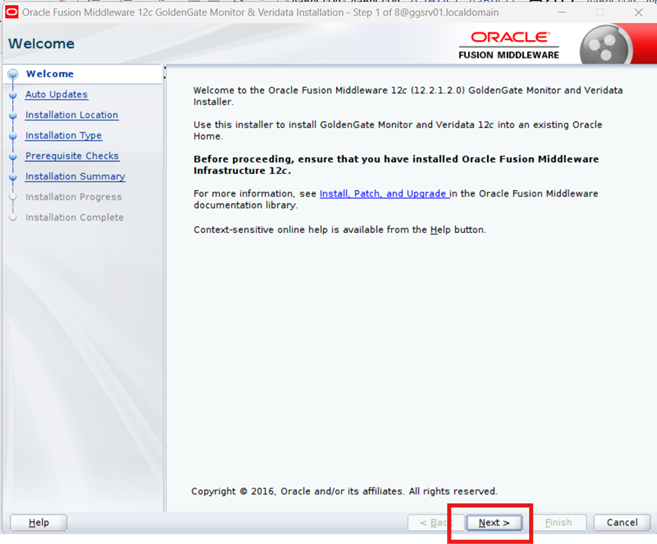
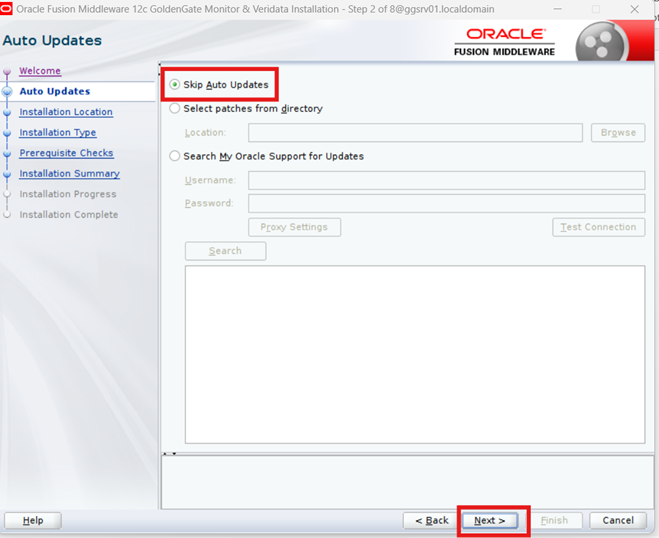
Now run the jar file using java -jar
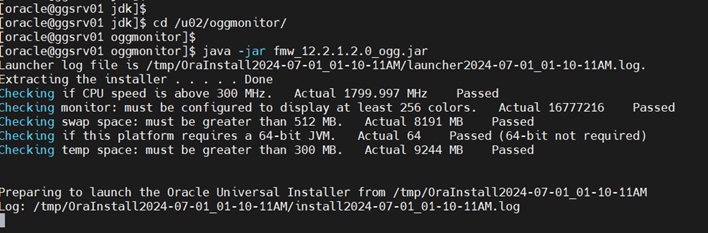
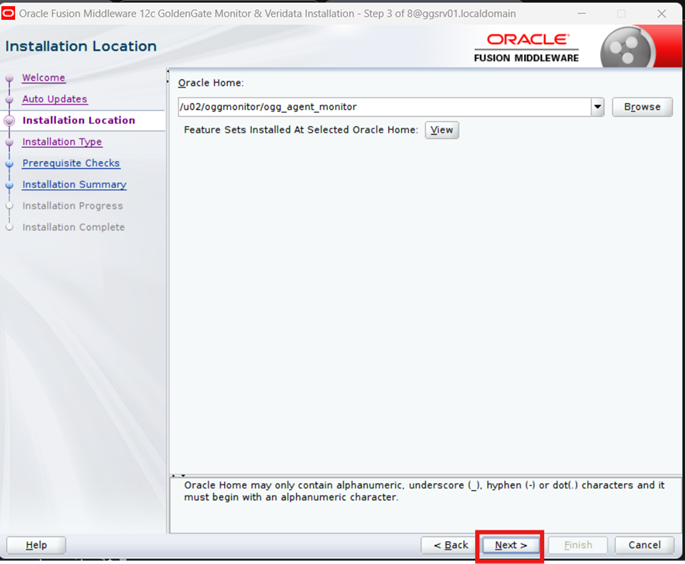
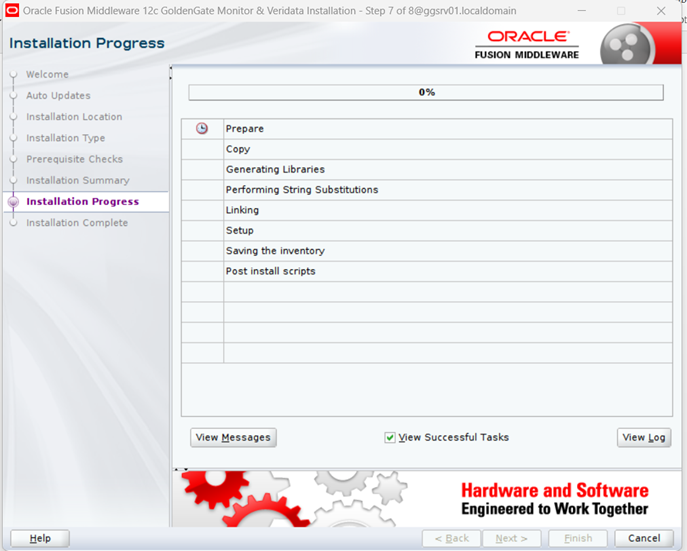
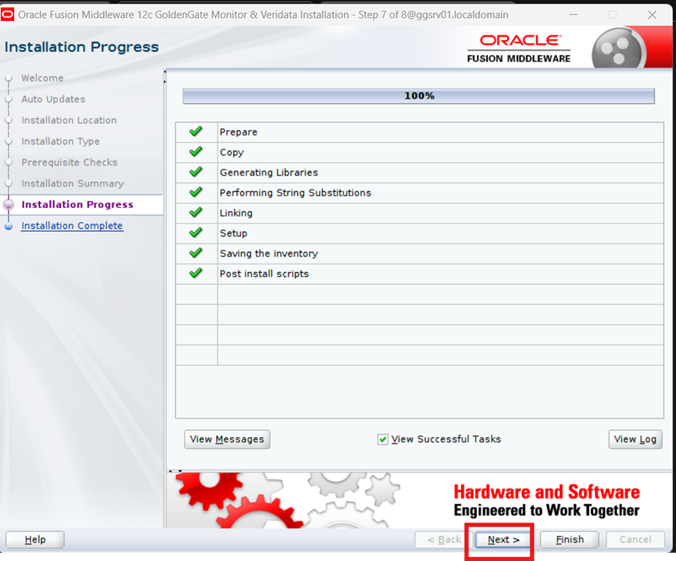
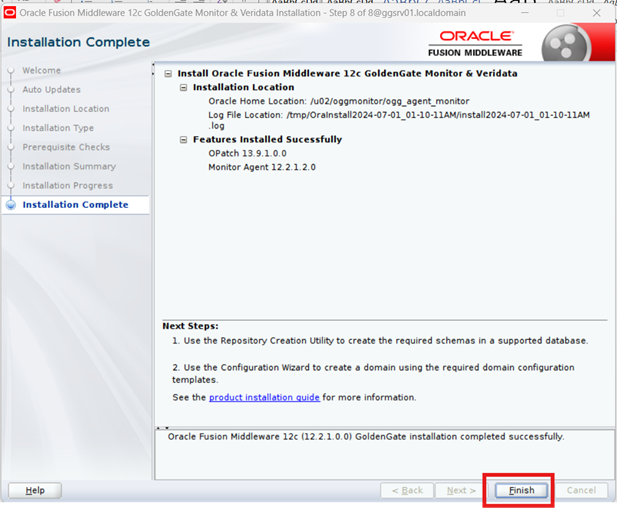

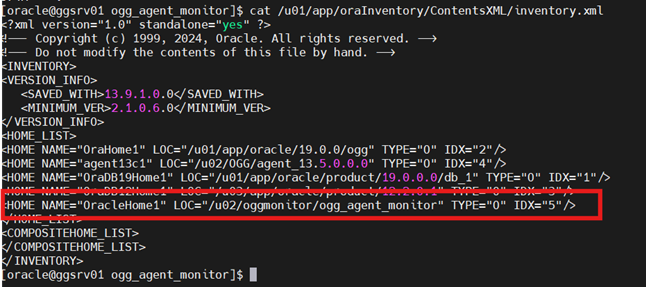
Verify the OraInventry is updated
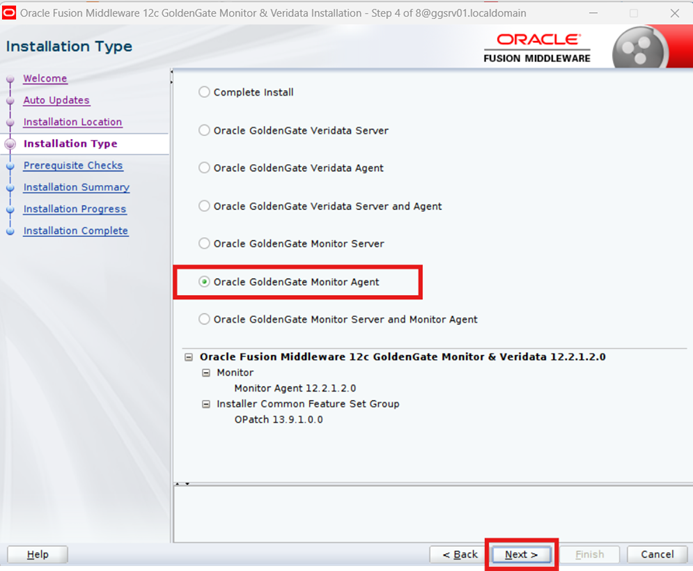
Now we will create the OGG Agent Instance
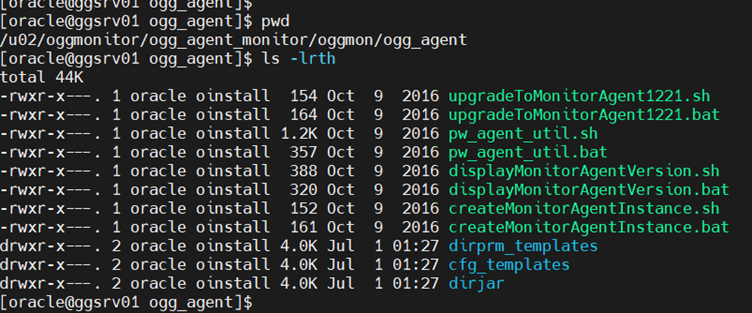
Note: In this directory, look for a file called createMonitorAgentInstance.sh. This files has to be ran first to create the JAgent that will be associated with Oracle GoldenGate. In order to run this script, the $JAVA_HOME variable needs to be pointed to the JDK 1.8 location as well. Inputs that will need to be provided are the Oracle GoldenGate Home and where to install the JAgent (this is different from where the OUI installed).

Note there a mistake above, you must only specify a prefix unique name to replace timestamp but we gave the entire file name.
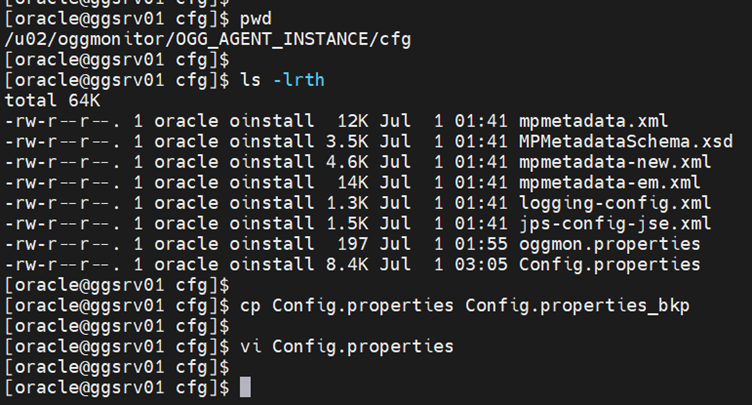
Next, go to the directory for the OGG Agent Instance (JAgent), then to the configuration (cfg) directory. In this directory, the Config.properities file needs to be edited. Just like with the old embedded JAgent, the same variables have to be changed. Change the following or keep the defaults, then save the file:
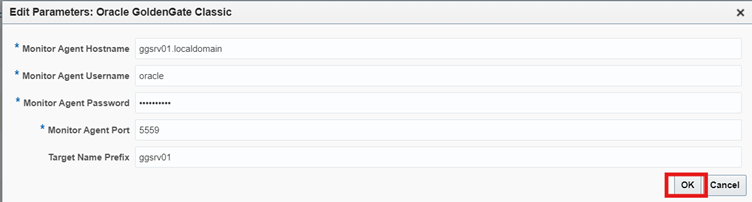
**jagent.host=ggsrv01.localdomain (**default is localhost)
**jagent.jmx.port=**5555 (default is 5555)
**jagent.username=oracle (**default oggmajmxuser)
**jagent.rmi.port=**5559 (default is 5559)
**agent.type.enabled=OEM (**default is OGGMON)
Now create the password that will be stored in the wallet directory under $OGG_HOME.
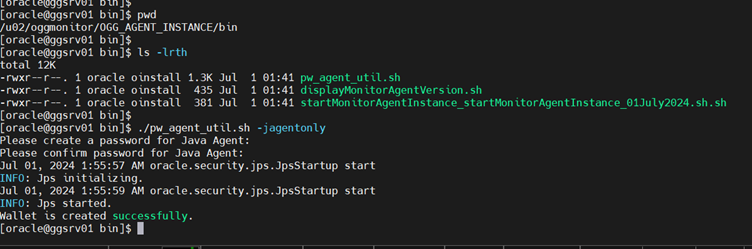
We used Passwd as: oracle_123
Now, enable monitoring in the GLOBALS file in $OGG_HOME.

Note: Refer How To Enable Monitoring For GoldenGate 12.3.x/18c/19c/21c "Classic" Using Oracle Enterprise Manager 13c R5+? (Doc ID 2314622.1)
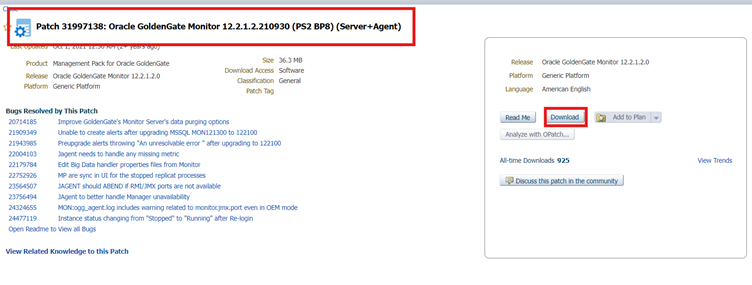
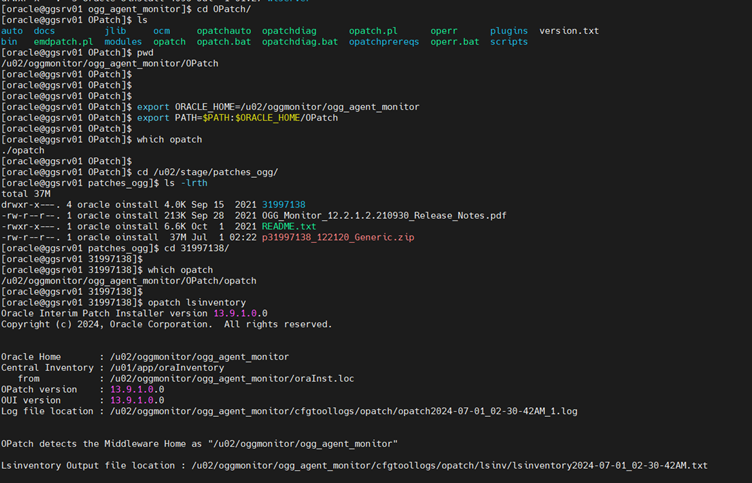
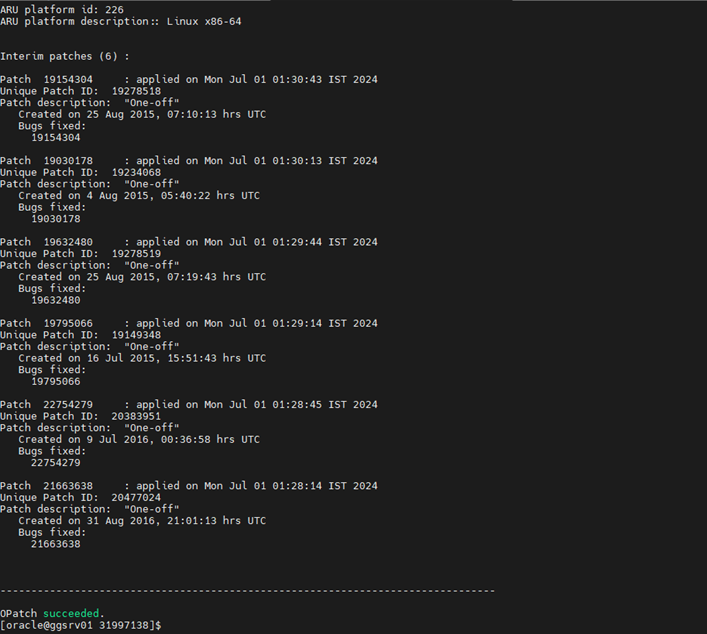
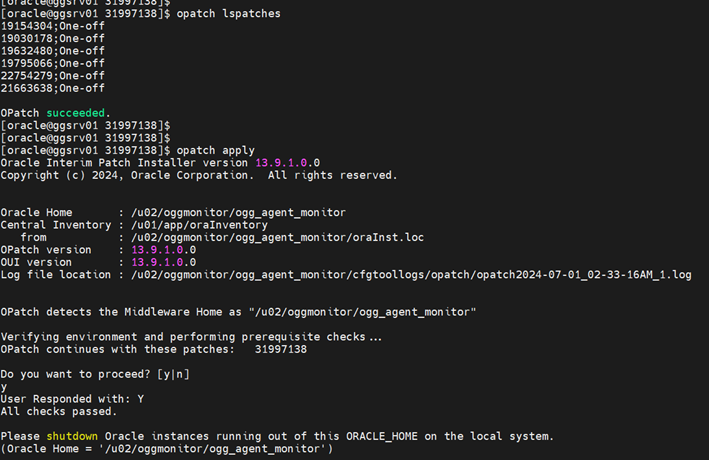
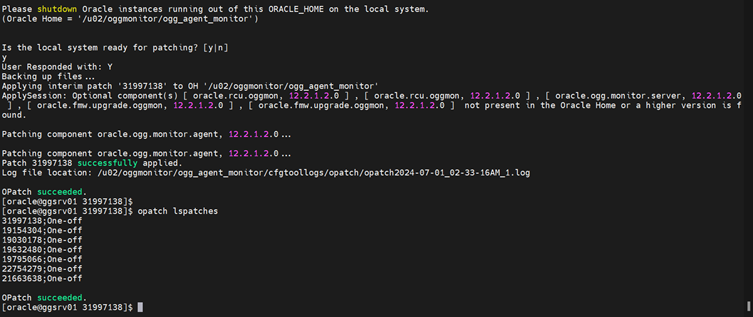
Now we need to Download & Apply the path 31997138
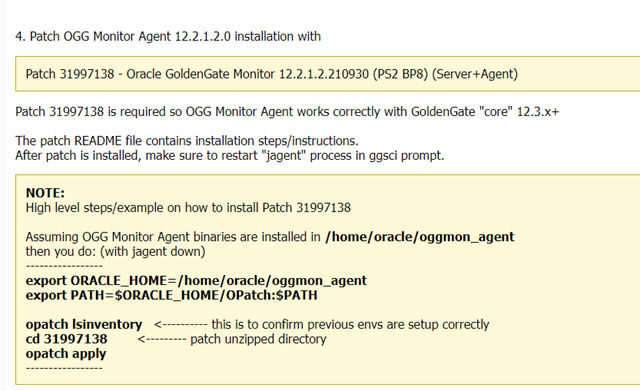
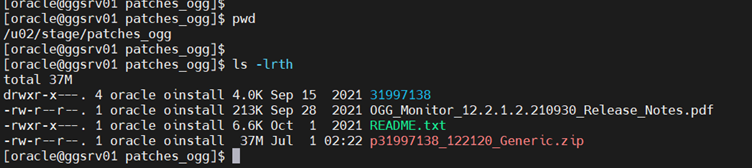
Now unzip the patch zip and apply the patch.
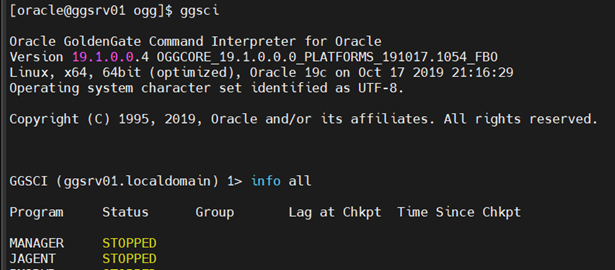
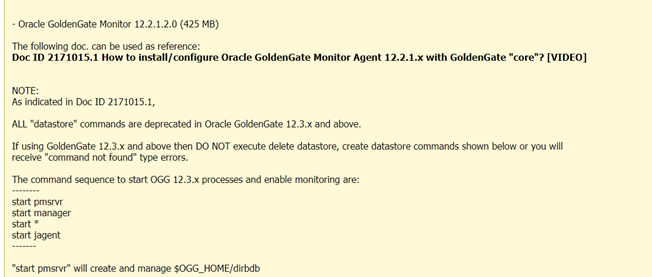
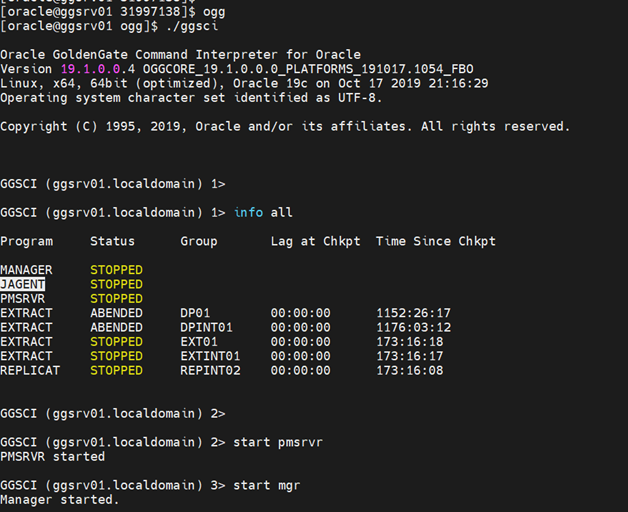
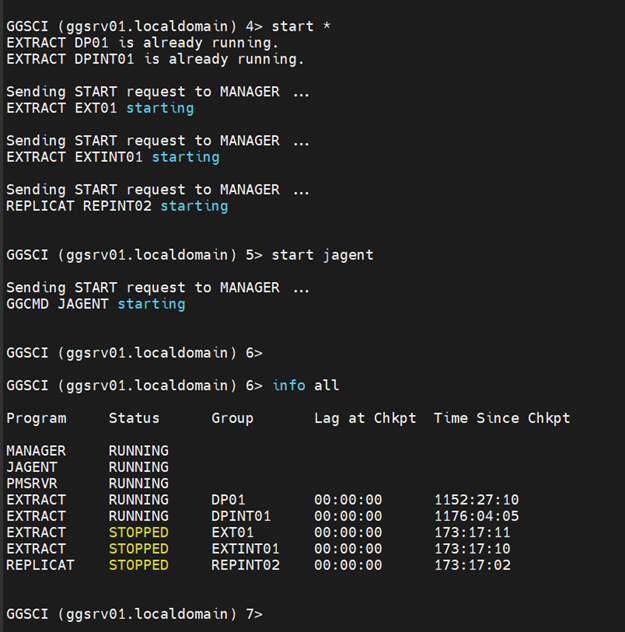
Now start the GoldenGate Processes with the following sequence.
- start pmsrvr
- start mgr
- start *
- start jagent
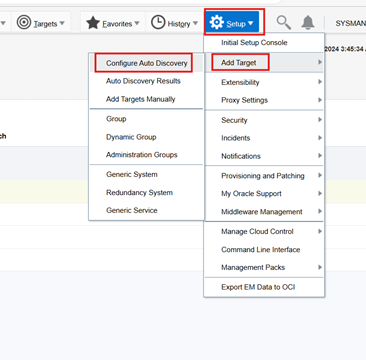
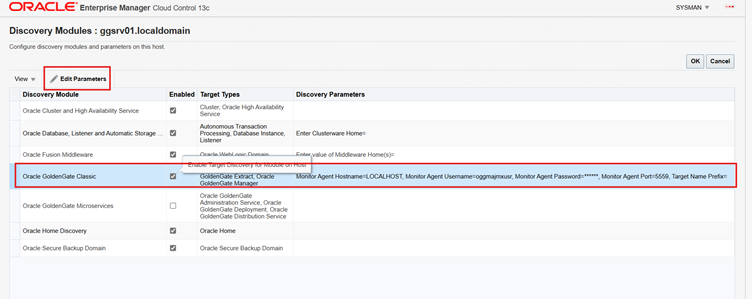
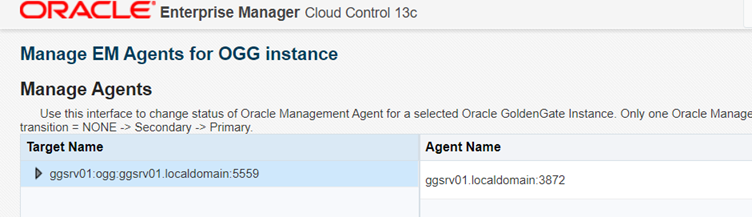
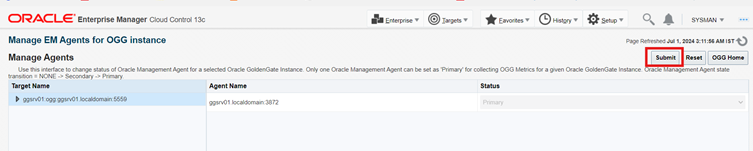
Now Configure Auto Discovery for GoldenGate on ggsrv01
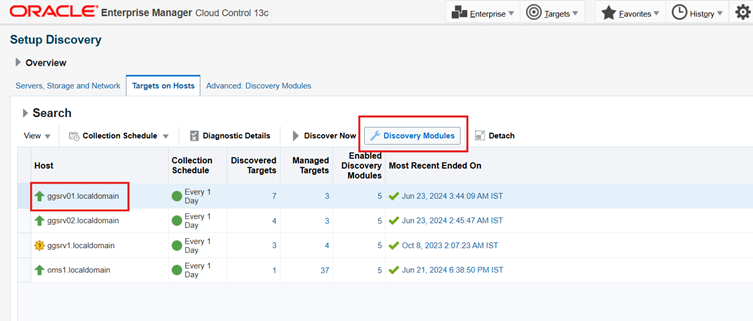
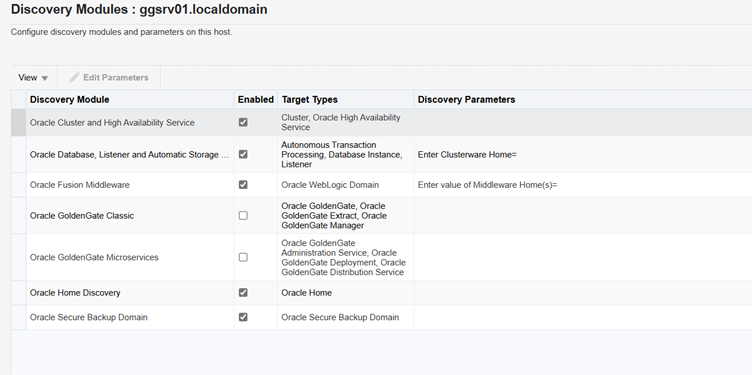
Check GoldenGate check box
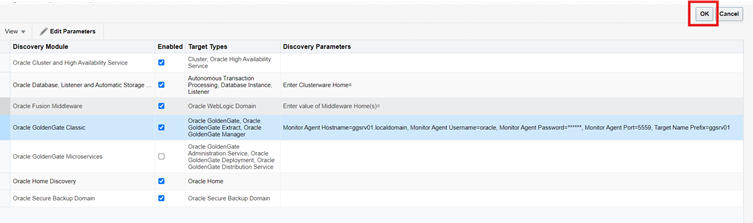
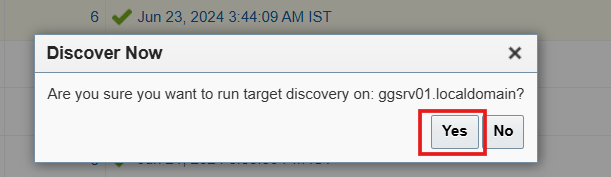
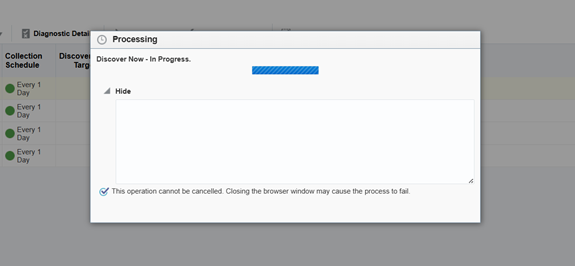
Click Discover Now
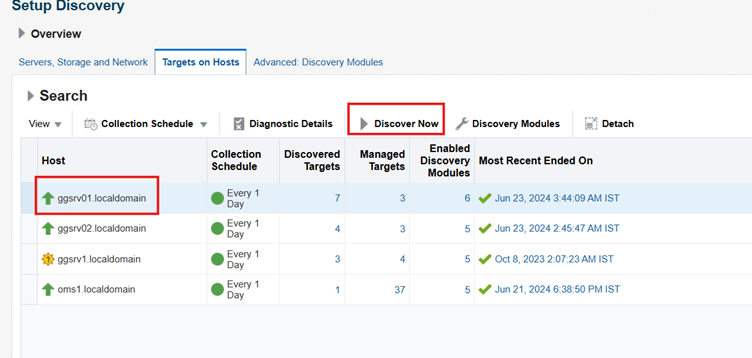

Verify the Auto Discovery Results for GoldenGate
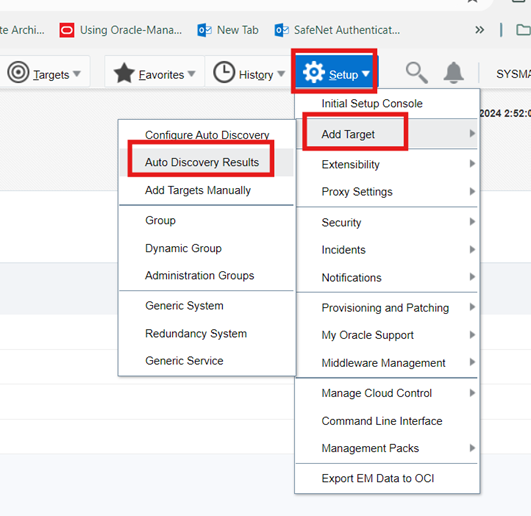
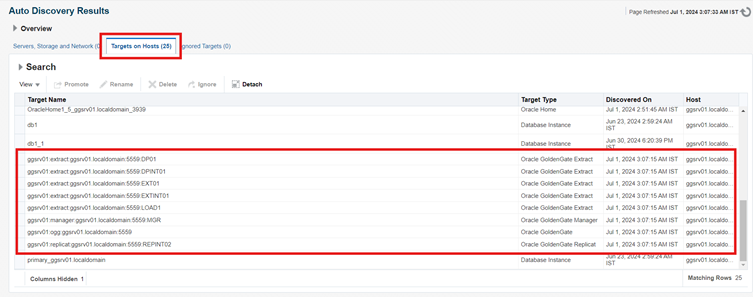


Now add all the rest GoldenGate Targets by selecting all at once.
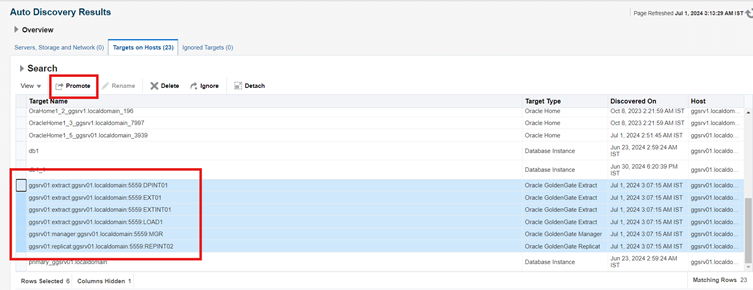
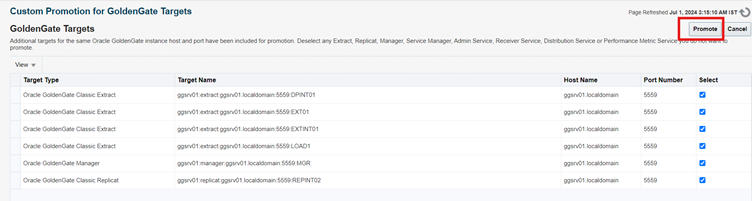
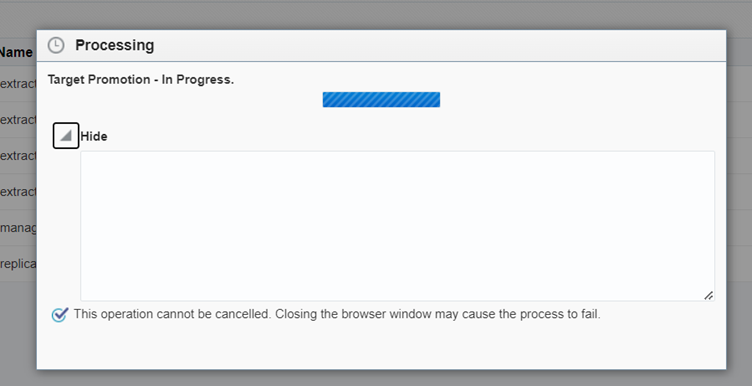
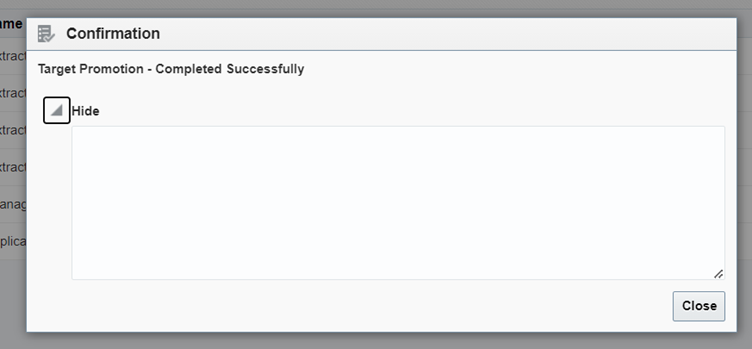
Now verify the GoldenGate Targets are added.
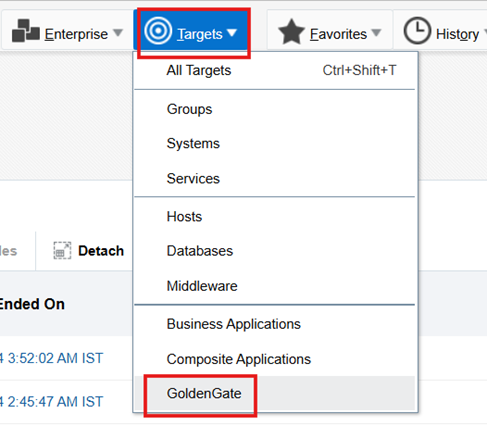
Click the drop-down menu.

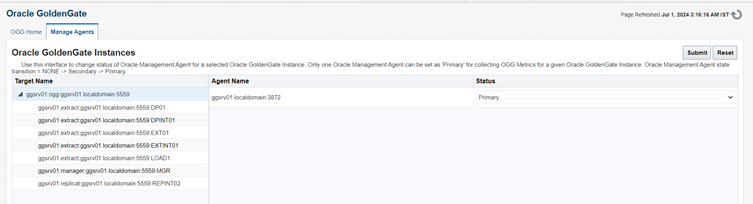
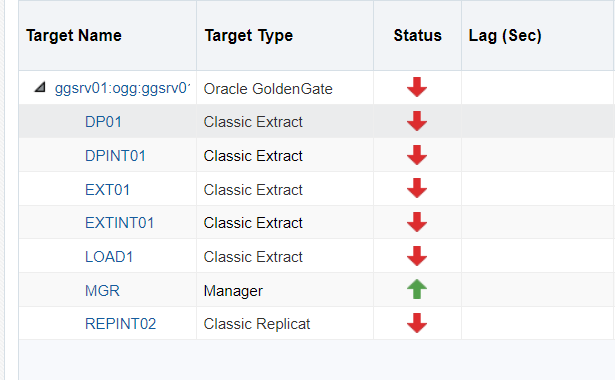
Now to see the status of these targets, Click on OGG Home
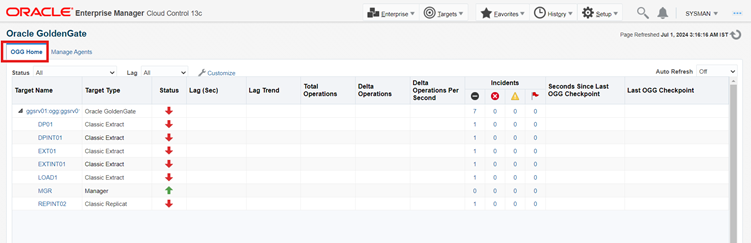
This Completes our setup with Oracle GoldenGate Plugin on OEM 13C
Thanks & Regards,
-Adnaan