Task 1: Creating and Exporting a Custom Image:
Step 1: Create a Custom Image
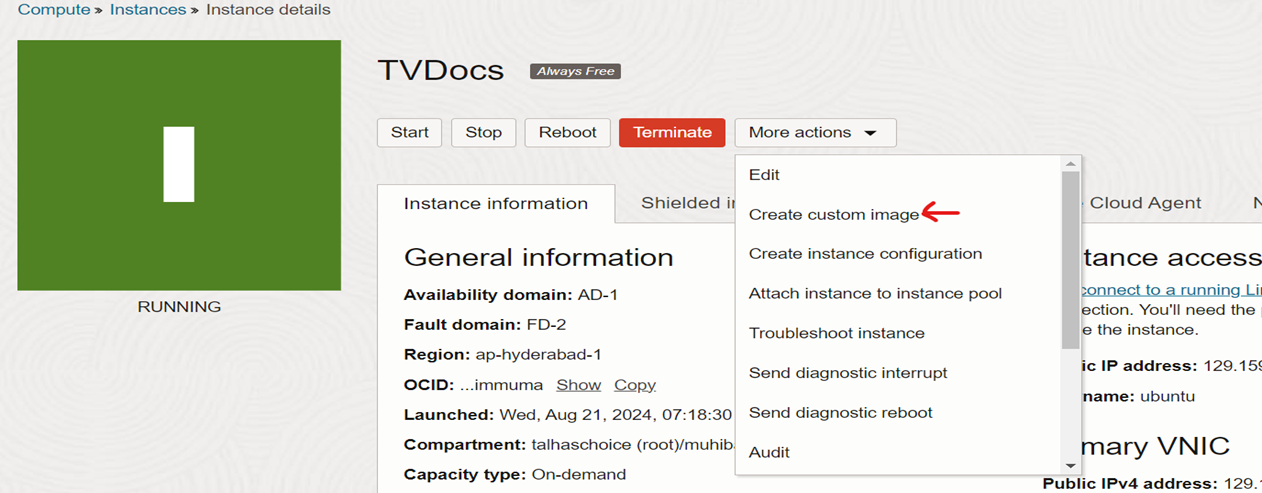
• Select the instance from which you want to create the image.
• Choose the "Create Custom Image" option.
• Specify the name, description, and compartment for the image.
• Initiate the image creation process.
Step 2: Export the Custom Image
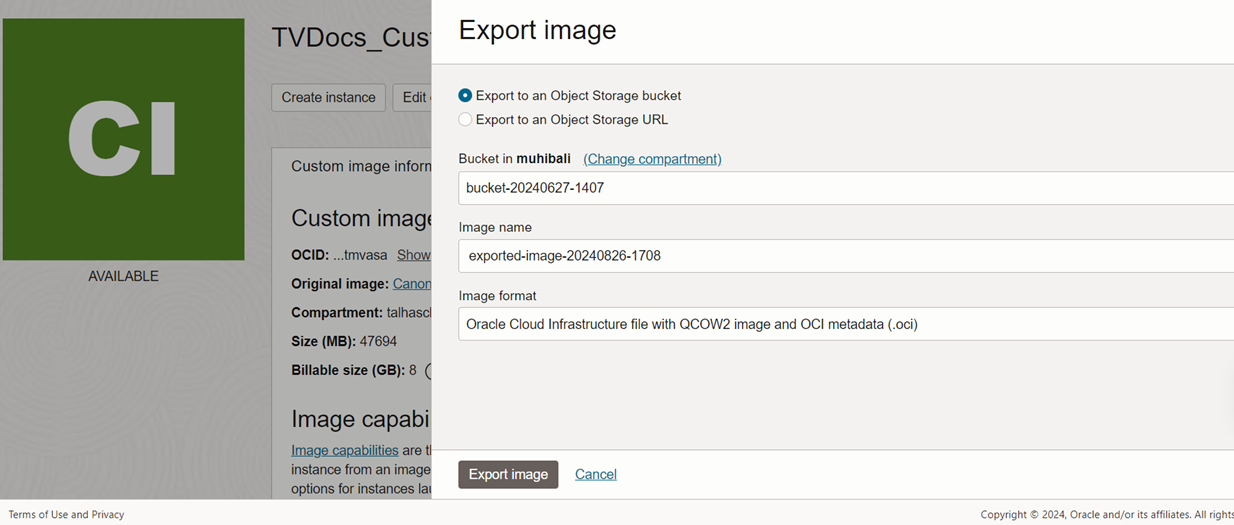
• Select the newly created custom image.
• Choose the "Export" option.
• Specify the desired export format (e.g., OCI, Oracle Cloud Infrastructure Image (OCI-I)) and destination.
• Initiate the export process.
Step 3: Download and upload the Custom Image
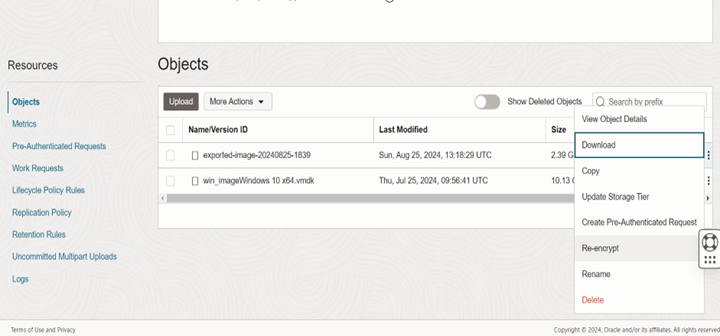
• Download the object (Custom Image) from the Bucket into your PC.
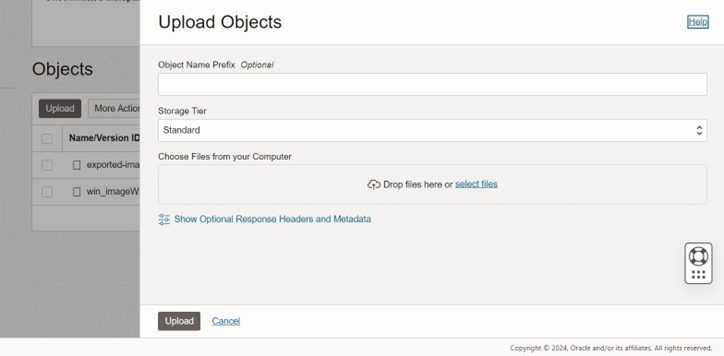
• Change OCI Tenancy and upload the Image which was previously downloaded.
Task 2: Importing and Creating an Instance from the Custom Image (in a Different Tenancy):
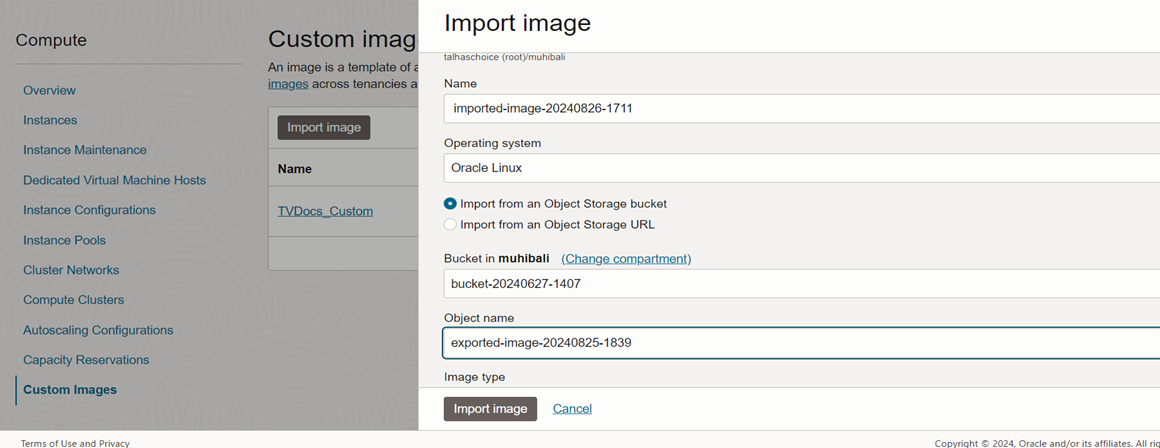
Step 1: Import the Custom Image
• In the target tenancy, navigate to the "Custom Images" section.
• Choose the "Import" option.
• Upload the exported image file.
• Specify the name, description, and compartment for the imported image.
• Initiate the import process.
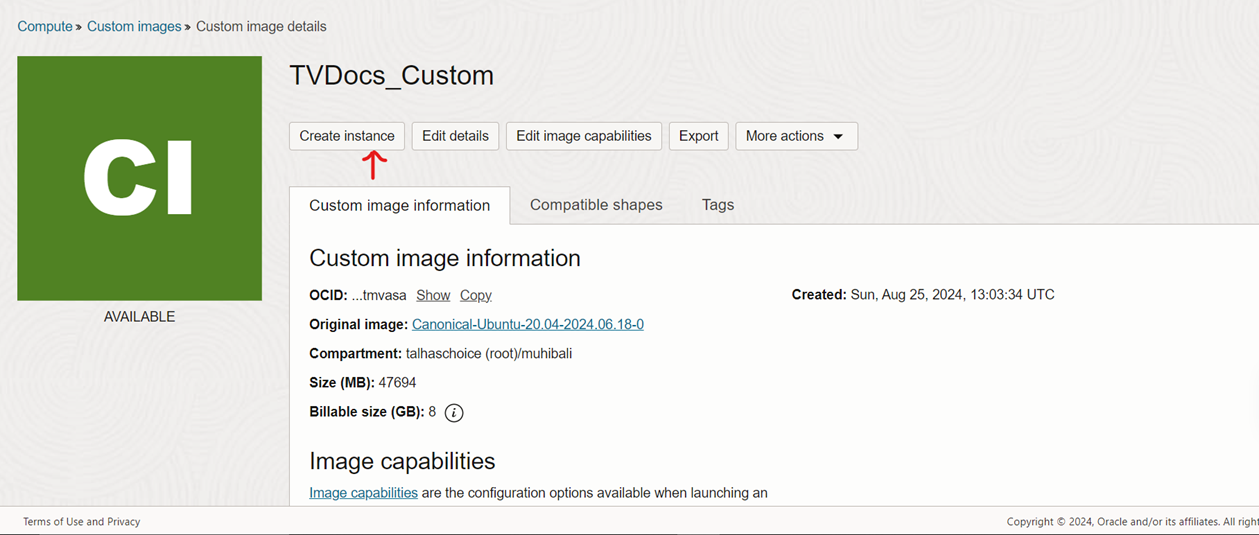
Step 2: Create an Instance from the Imported Image
• Select the imported custom image.
• Choose the "Create Instance" option.
• Specify the desired instance configuration (e.g., shape, availability domain, network).
• Initiate the instance creation process.
• NOTE: If you notice anything is missing or additional information is required, please feel free to mention in the comments.
Thanks,
Muhib Ali Qureshi