This is the Part-2 of the blog post - "Business Process Orchestration and Integration in Cloud using Oracle PaaS" emphasizing on the ICS aspects like creating and configuring integration and SOAP connector to invoke an on-premise web service for completing the funds transfer process. The Funds Transfer business process uses ICS for connecting to an on-premise web service to complete the process execution, please refer to Part-1 for business process orchestration and related configurations.
When you log into the ICS server, you will see the following landing page from where you can create connections and integrations. To create a new integration you would first need to create a connection that can used in the integration.
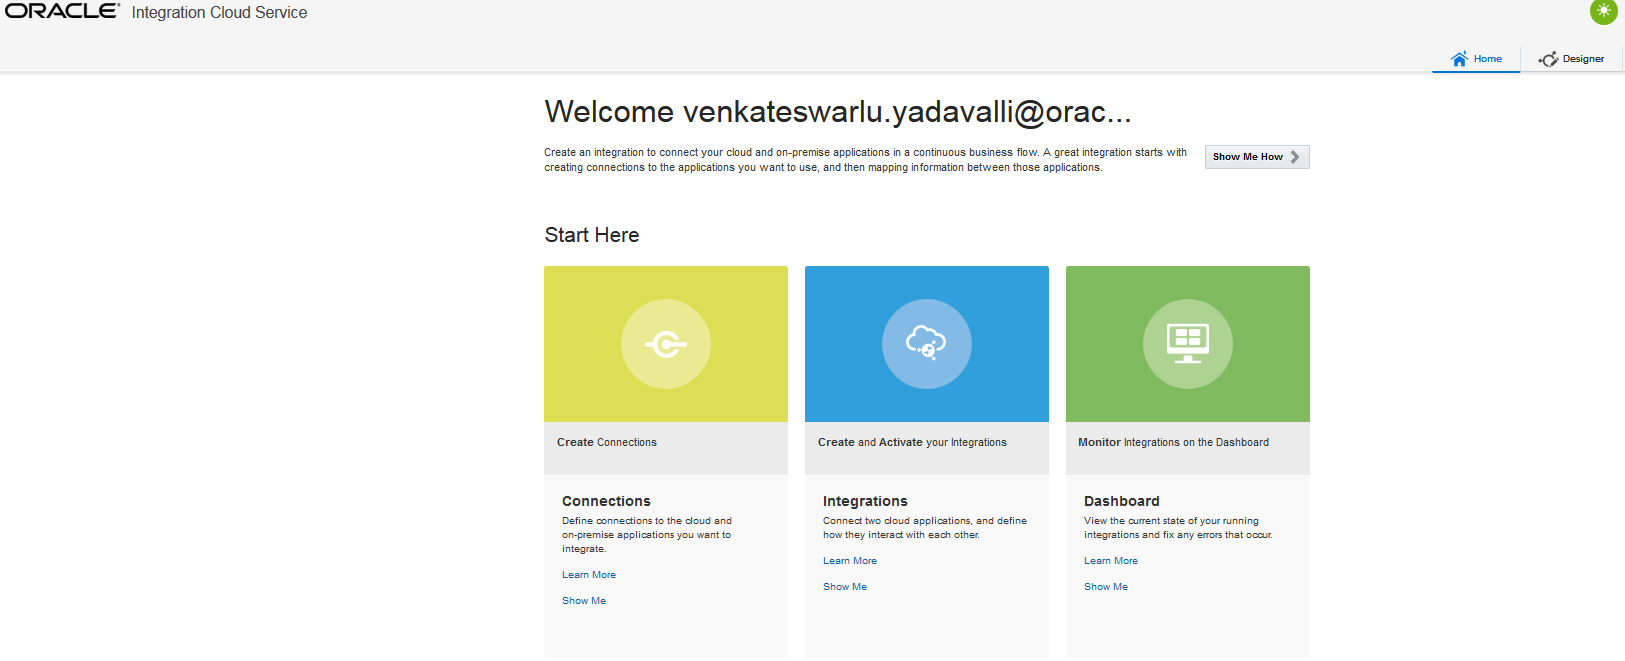
Figure 23: ICS Home page
Click on the “Integrations” icon, you will see the Integrations page displaying the existing integrations (if any) as below:
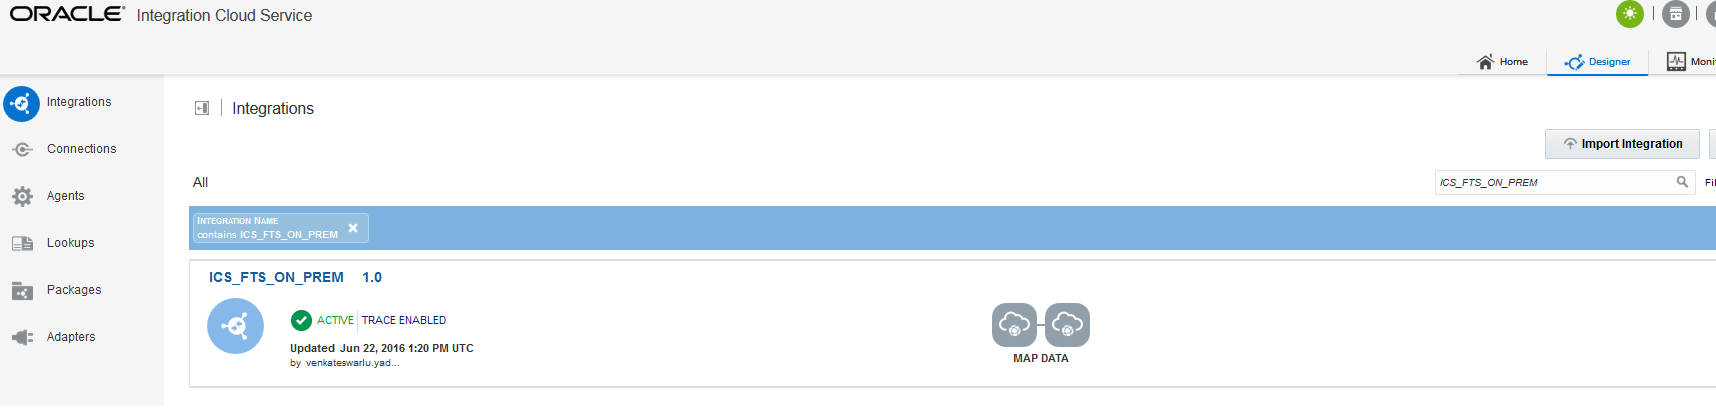
Figure 24**: Existing Integrations**
Create an agent group
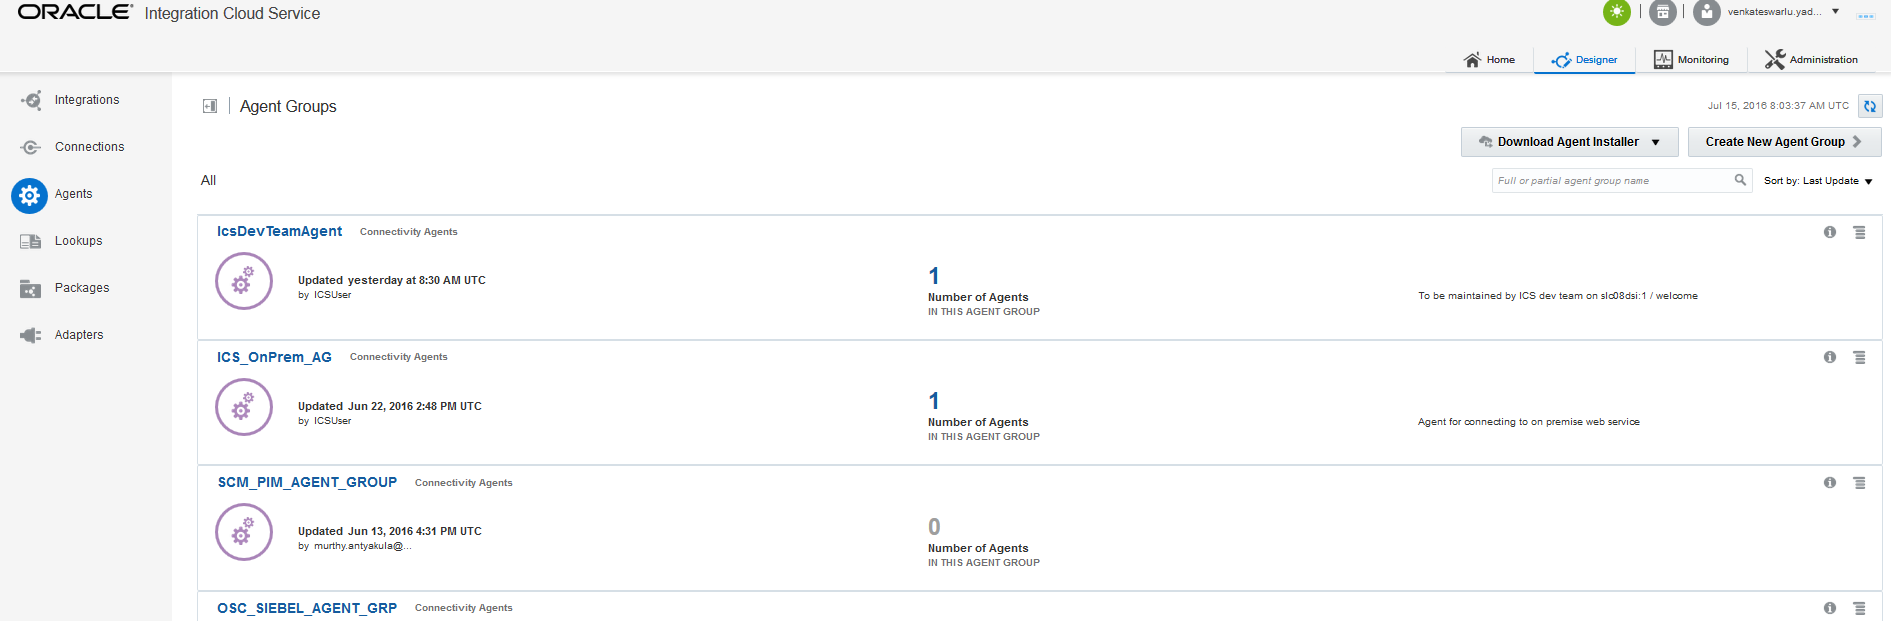
The Funds Transfer business process involves invoking an on-premise web service via ICS integration to complete the transfer process. Connectivity to on-premise in ICS is established using an “Agent”, click on the “Agents” link on the left panel which opens the Agents page displaying the existing agent groups as shown below:
Note: You have to download and install the ICS connectivity agent which is the bridge to connect ICS to on-premise services. Details about downloading, installing/configuring the ICS agent is beyond the scope of this post, please find more details here.
**
**
Figure 25: Create Agent Group
Click on “Create a new Agent Group” button on the right side for creating a new agent group which would be used to invoke an on-premise web service. Name the agent group as “ICS_OnPrem_AG”, this name would be specified when configuring the connection.
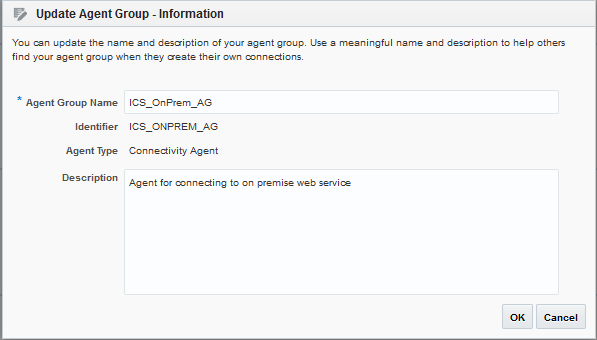
Figure 26: New Agent Group Information
Create Connections
Click on the “Connections” icon to see the Connections page, click on “Create Connection” button on the right side for creating a connection as shown below to connect to the on-premise SOAP service:
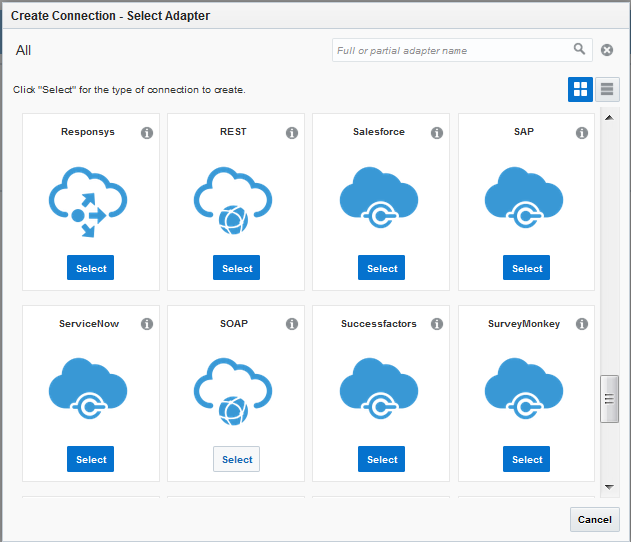
Figure 27**: Create Connection - Select Adapter**
Select “SOAP” from the list of adapters shown and provide new connection details as shown below:
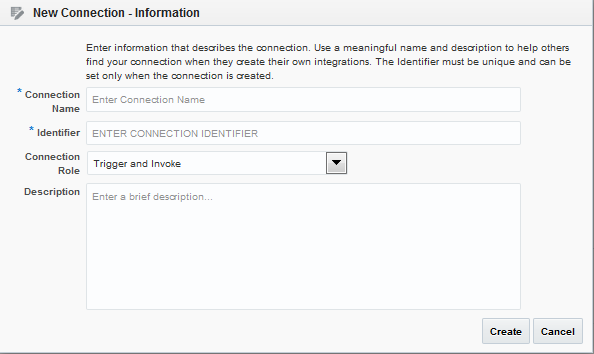
Figure 28: New Connection Information
Configure the connection attributes as shown below; this connection uses a SOAP adapter to connect to an on-premise web service via the agent group (ICS_OnPrem_AG) which was created earlier.
Note: This example assumes that there is a web service deployed and running on an on-premise Weblogic server, the WSDL of this web service is specified while configuring the SOAP adapter.
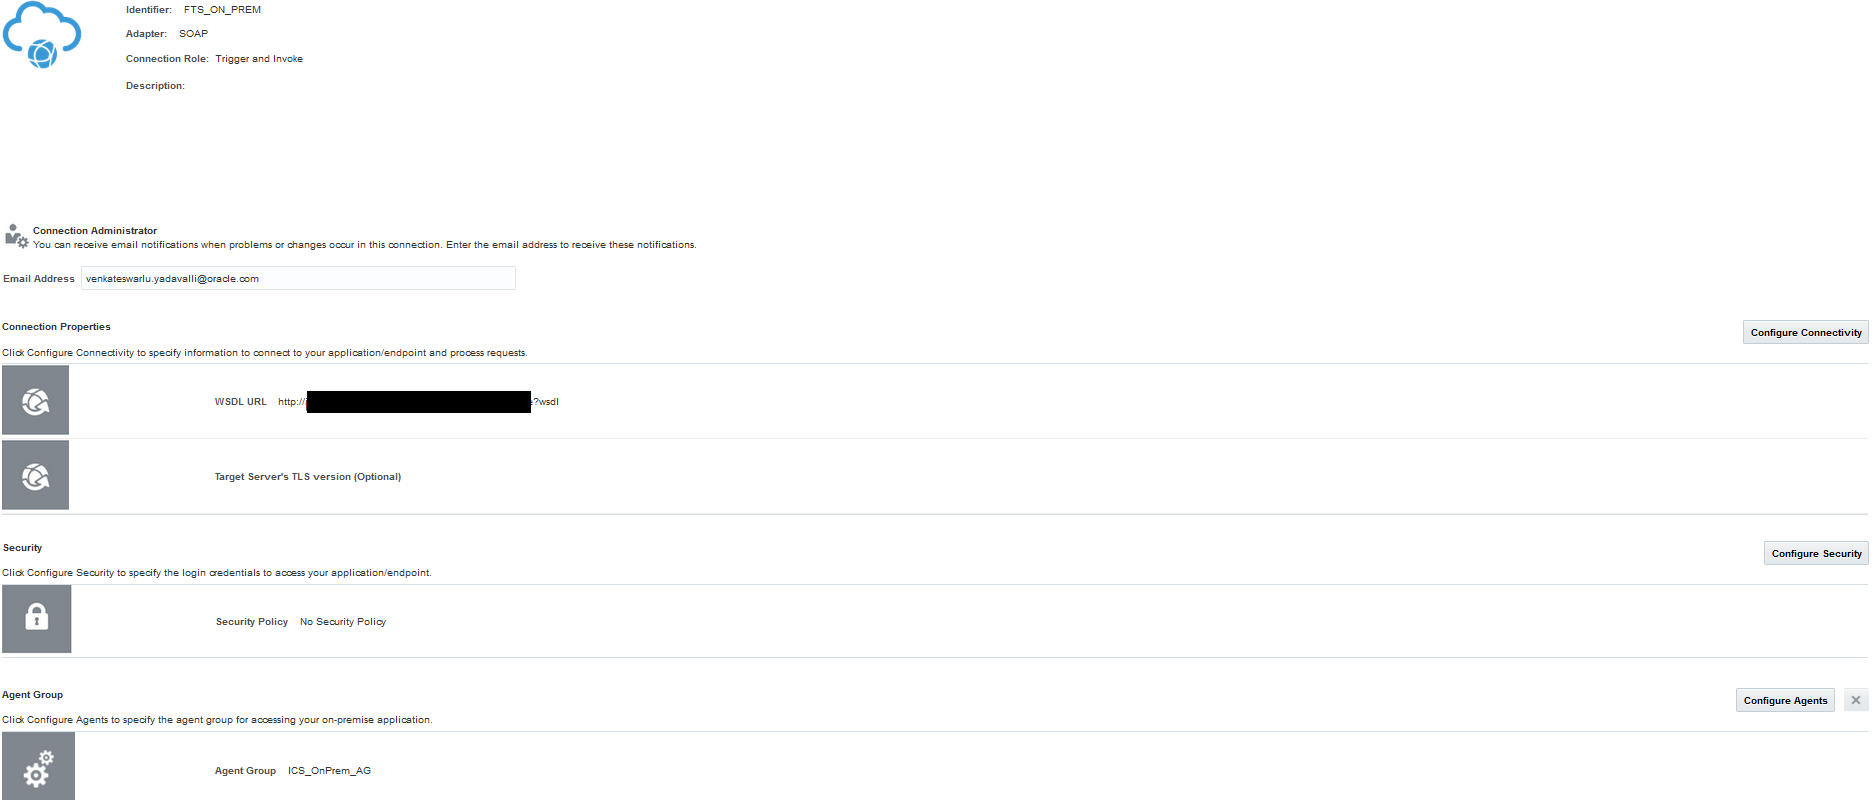
Figure 29: Configuring SOAP connection for on premise service invocation
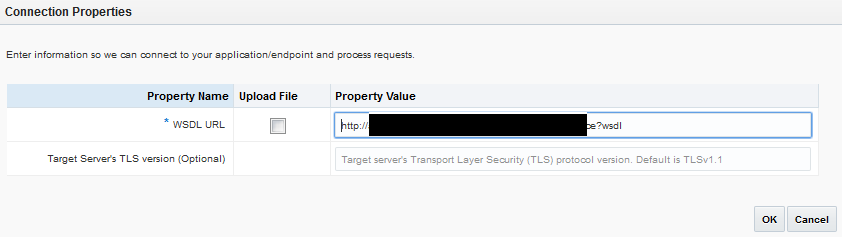
Click “Configure Connectivity” button to specify the WSDL details of the on premise service as follows:
**
**
Figure 30: Configure Connectivity
Before you can use the connection in an integration flow, ensure that the connection is tested and the state of the connection is shown as 100% as shown below (on the extreme right):
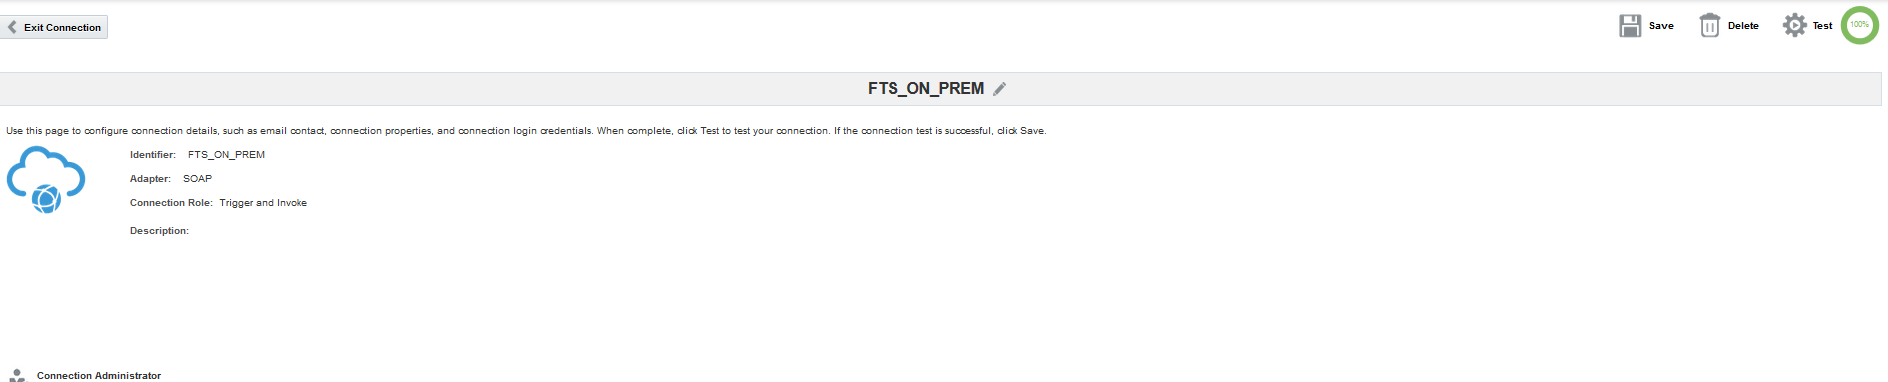
Figure 31**: Ready to use Connection**
Create a connection (FTS_Source) for configuring the source endpoint as follows:
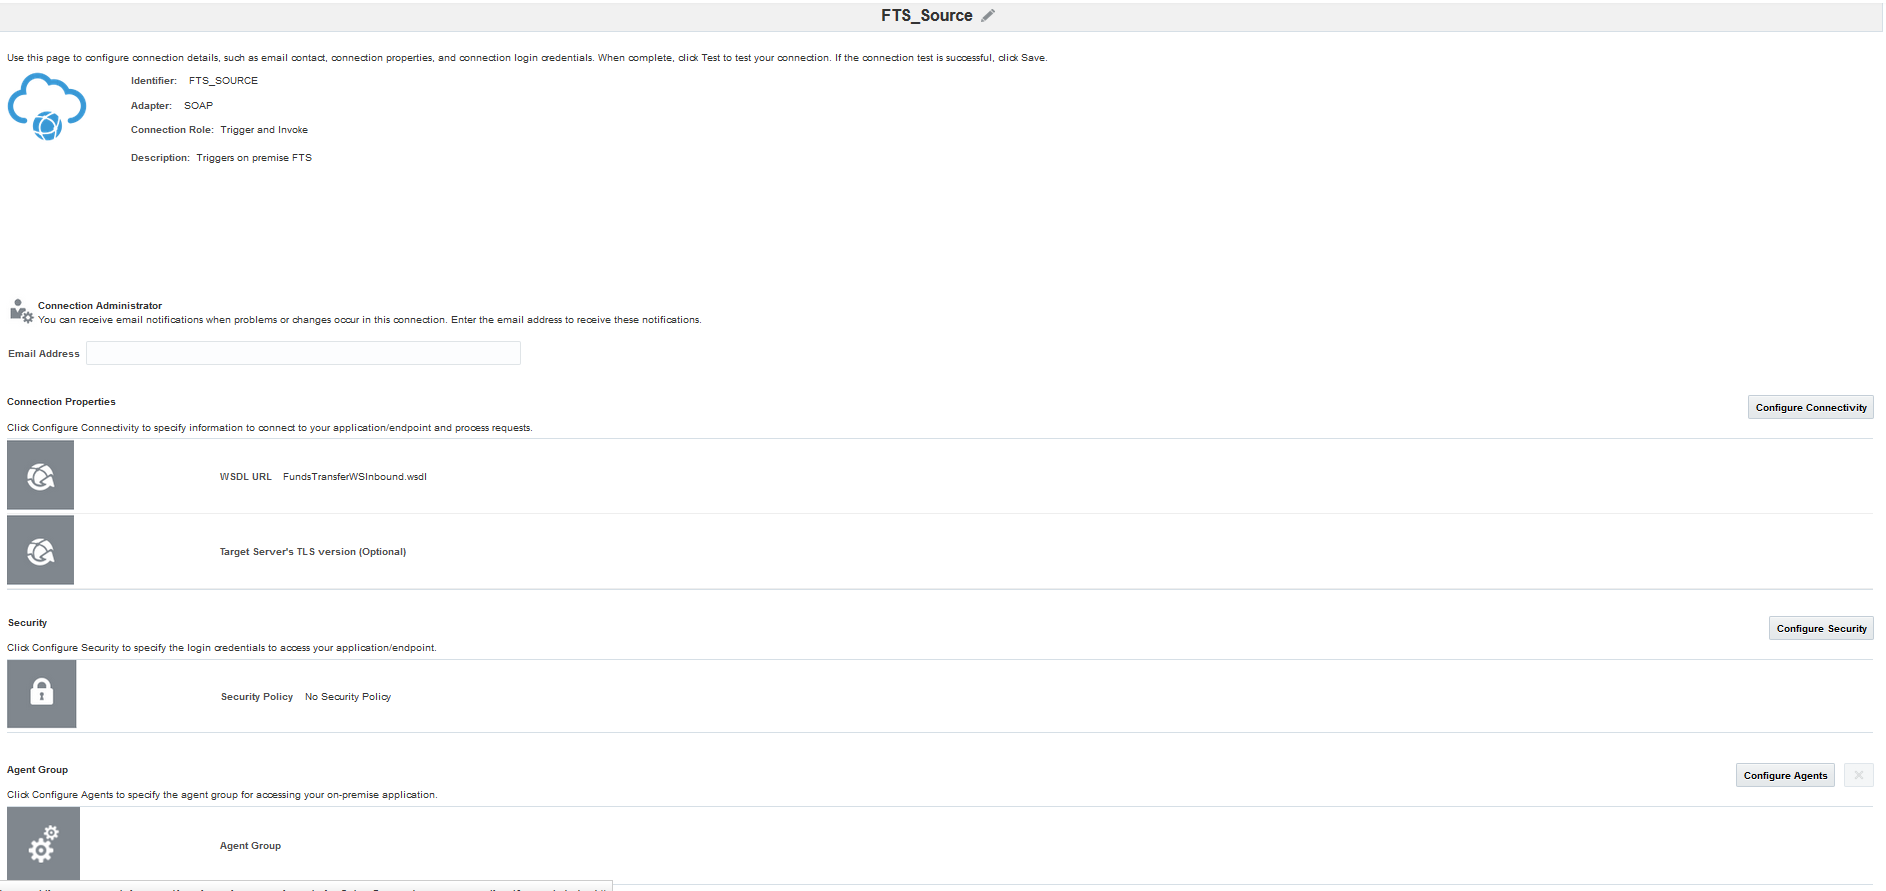
Figure 32**: Create connection for integration source**
Note: The ICS integration will be invoked as a SOAP service hence the source node of the integration (please refer to Figure: 34) is configured with a connection that uses SOAP adapter. The WSDL file uploaded here will be used for initiating the integration from outside ICS. Please refer to ICS documentation for more details.
Create an Integration Flow
Now we have the on-premise connection and source connection ready, create an integration using these connection definitions by selecting “Basic Map Data” pattern as shown below:
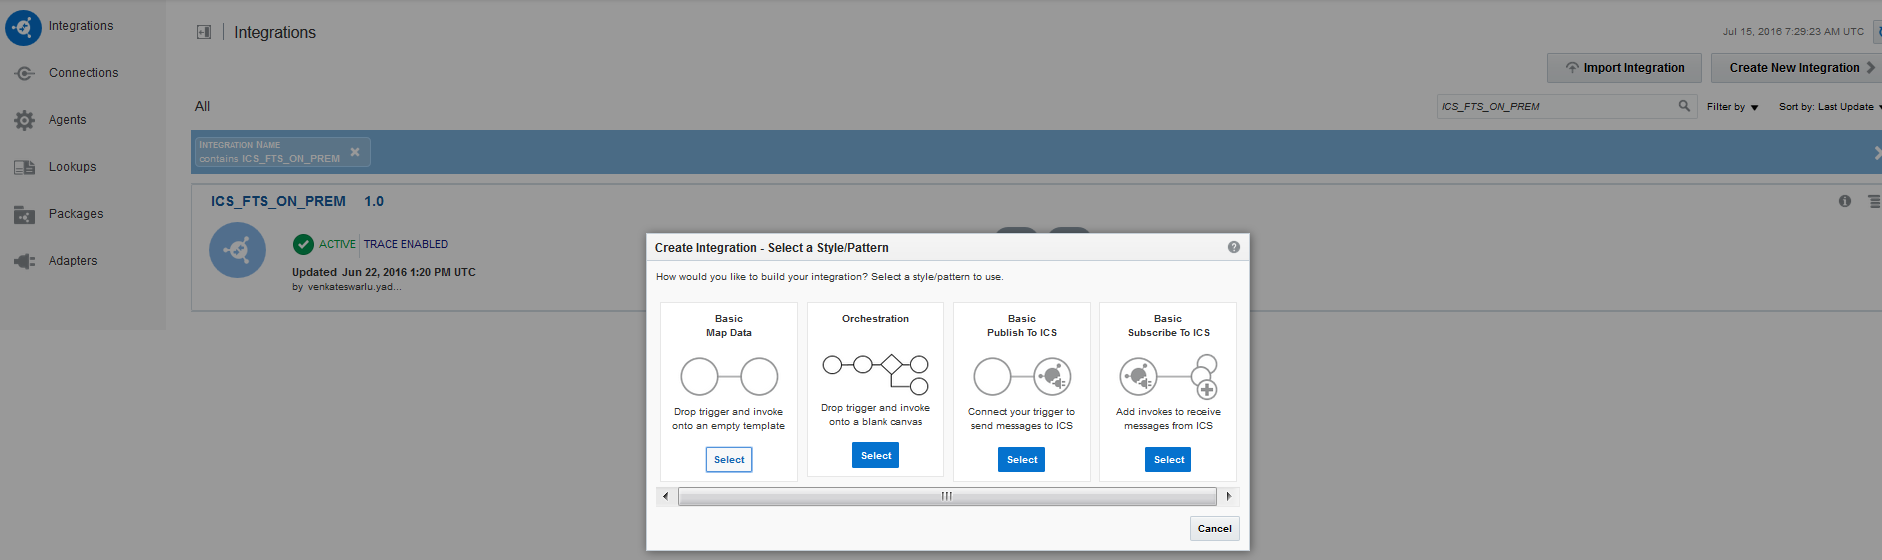
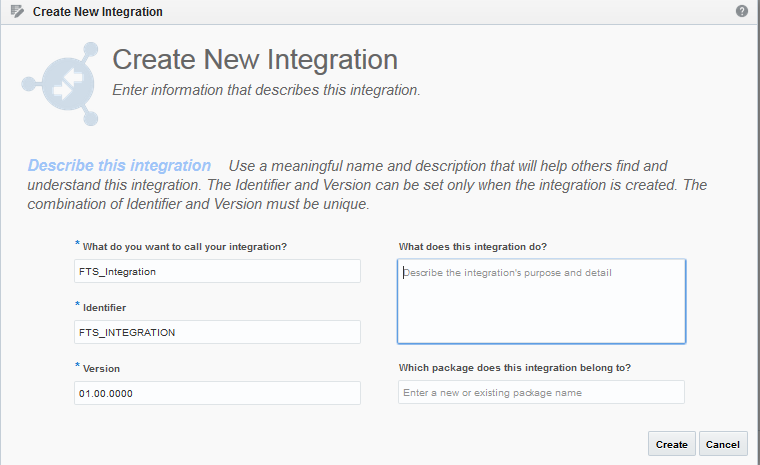
Figure 33: Create new Integration
The Integration flow canvas opens up with source and target nodes; there is a palette on the right side which lists all the defined connections. Locate the connection from the palette that you have created for connecting to the on-premise web service (FTS_ON_PREM) and drag/ drop the connection onto the target node as shown below:
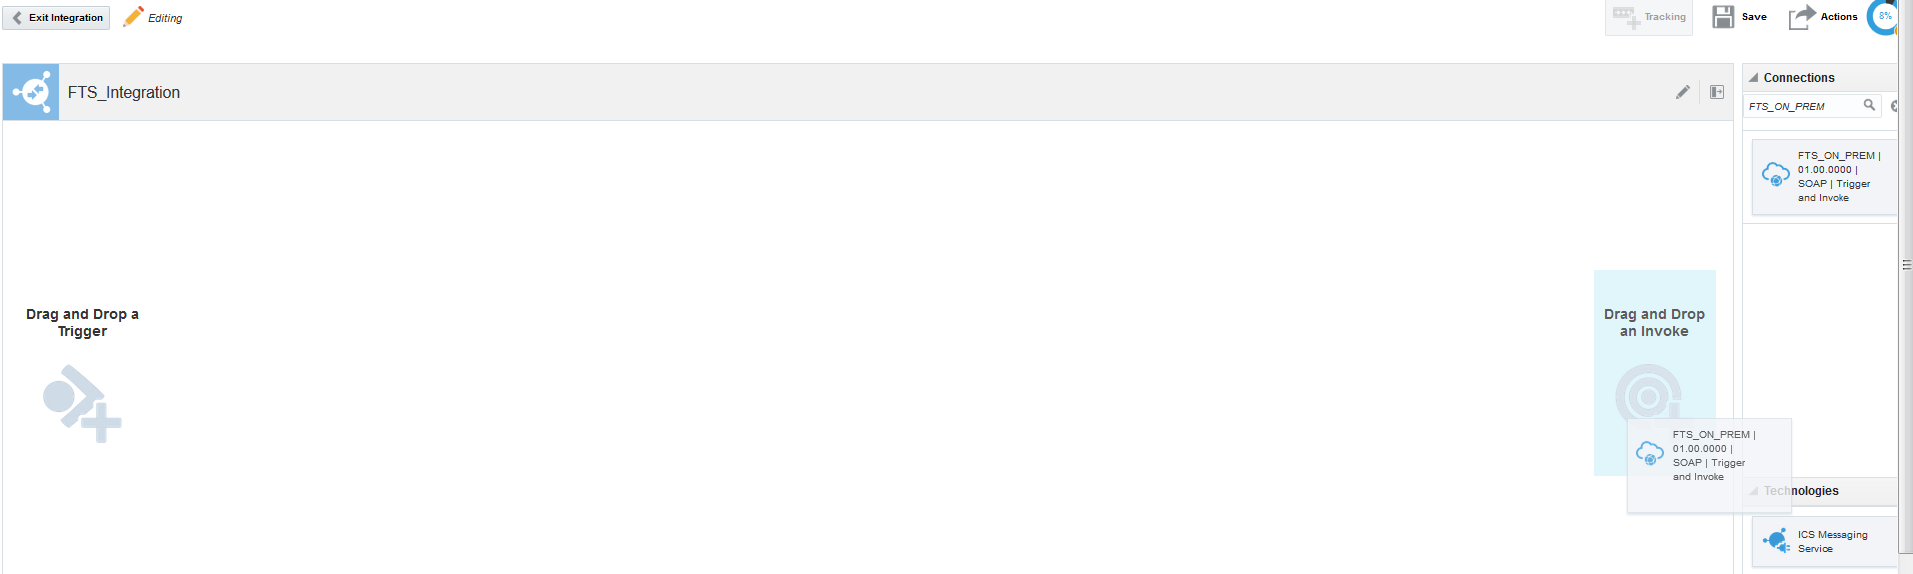
Figure 34**: Drag and Drop connection onto target node**
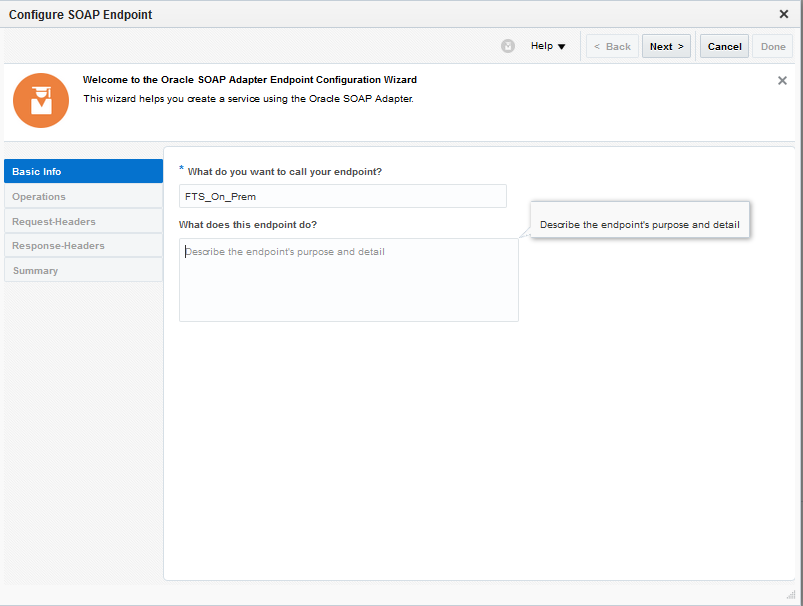
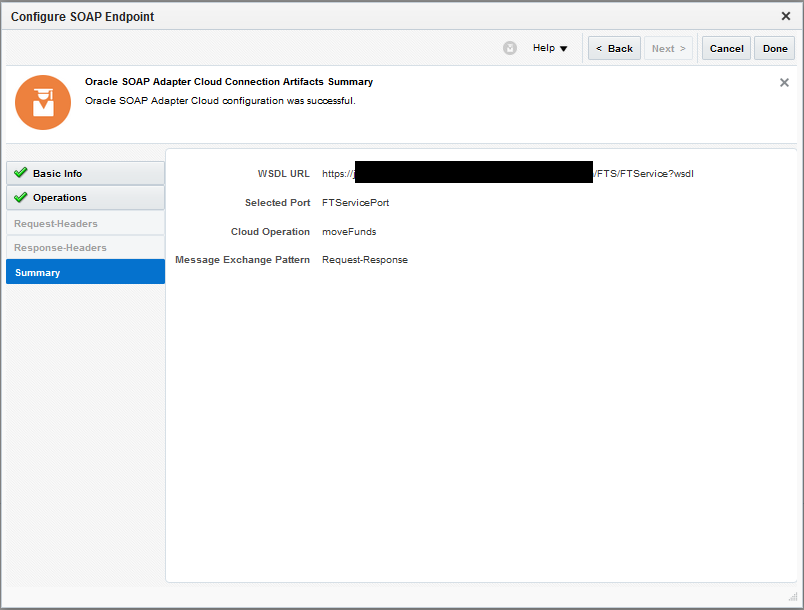
You will see a “Configure SOAP endpoint” page as shown below, give a name to this endpoint and click “Next”. The summary tab (shown below) displays the details of the web service and the operation being invoked using this endpoint configuration.
**
**
Figure 35**: Configure SOAP endpoint**
Locate the connection from the palette that you have created for source connection (FTS_Source) and drag/ drop the connection onto the source node.After configuring the source and target nodes of the integration it should look like below:

Figure 36: Integration with configured source and target connections
Map Request and Response
Click on the “Click Below to create Map” link (shown in the above diagram) to add data transformers to the request and response paths as shown below:
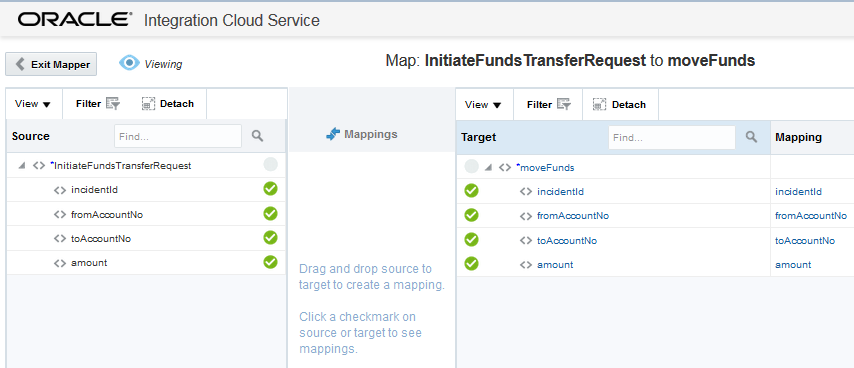
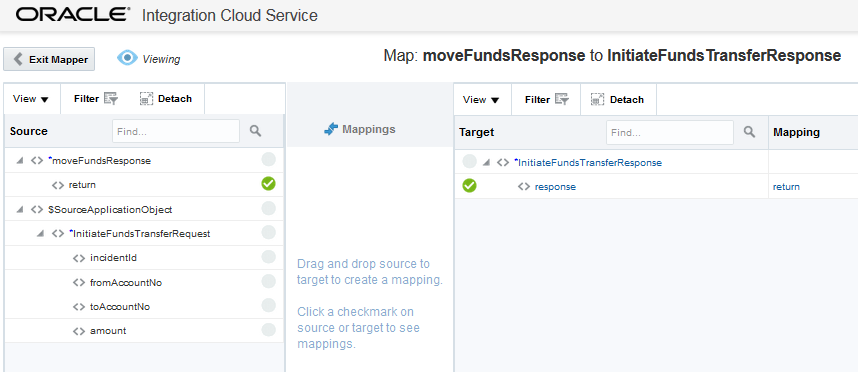
Figure 37**: Map Request and Response data**
After completing the above steps successfully, your integration should look like below:
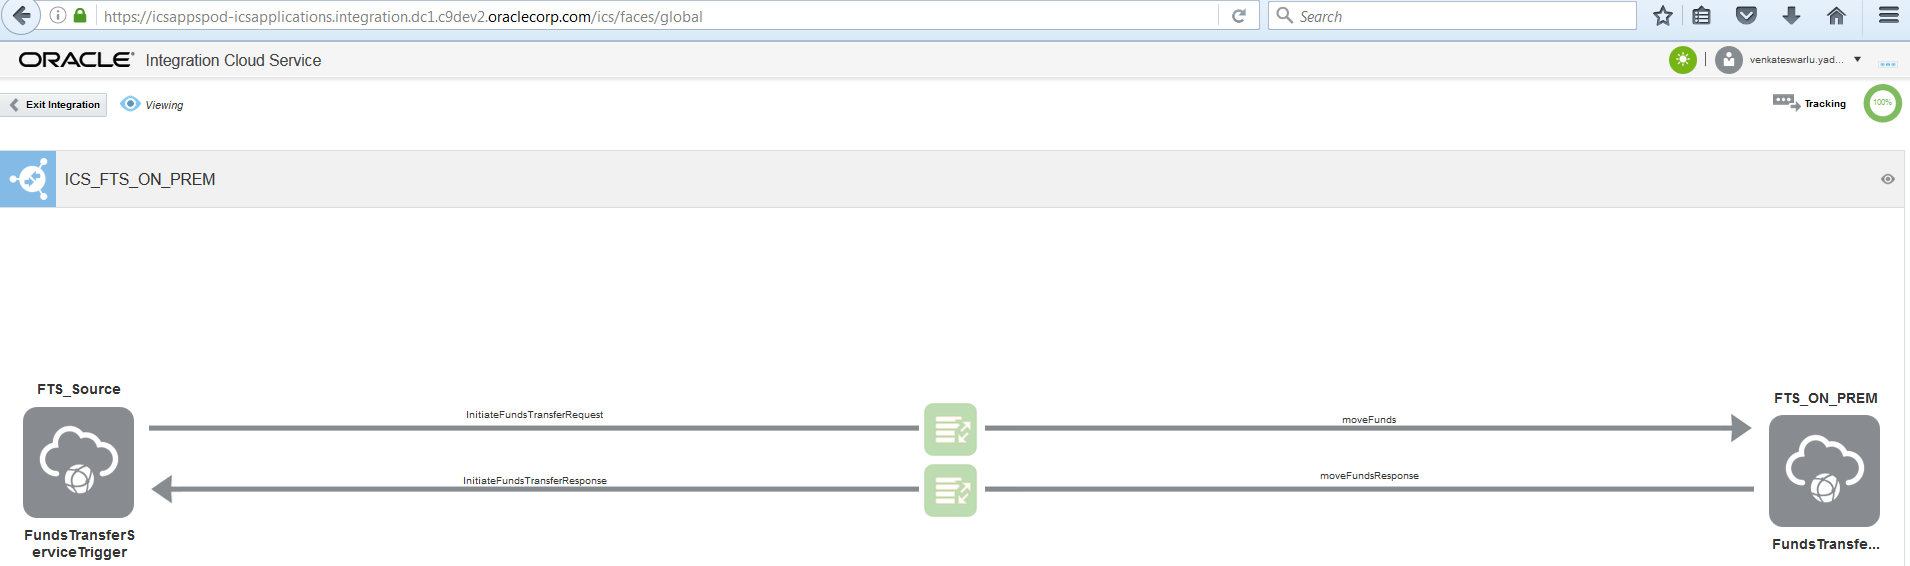
Figure 38: Integration after configuring data transformations
Exit the Integration by clicking on the “Exit Integration” button on left top and activate the integration by clicking on the “Activate” button as shown below:

**Figure** **39****: Activate Integration**
After the integration is activated, by placing the mouse cursor on the information icon (as shown below) you will be able to find the endpoint URL of the ICS integration that you have built. You can use this endpoint URL just like any other WSDL endpoint to invoke the integration as a web service.
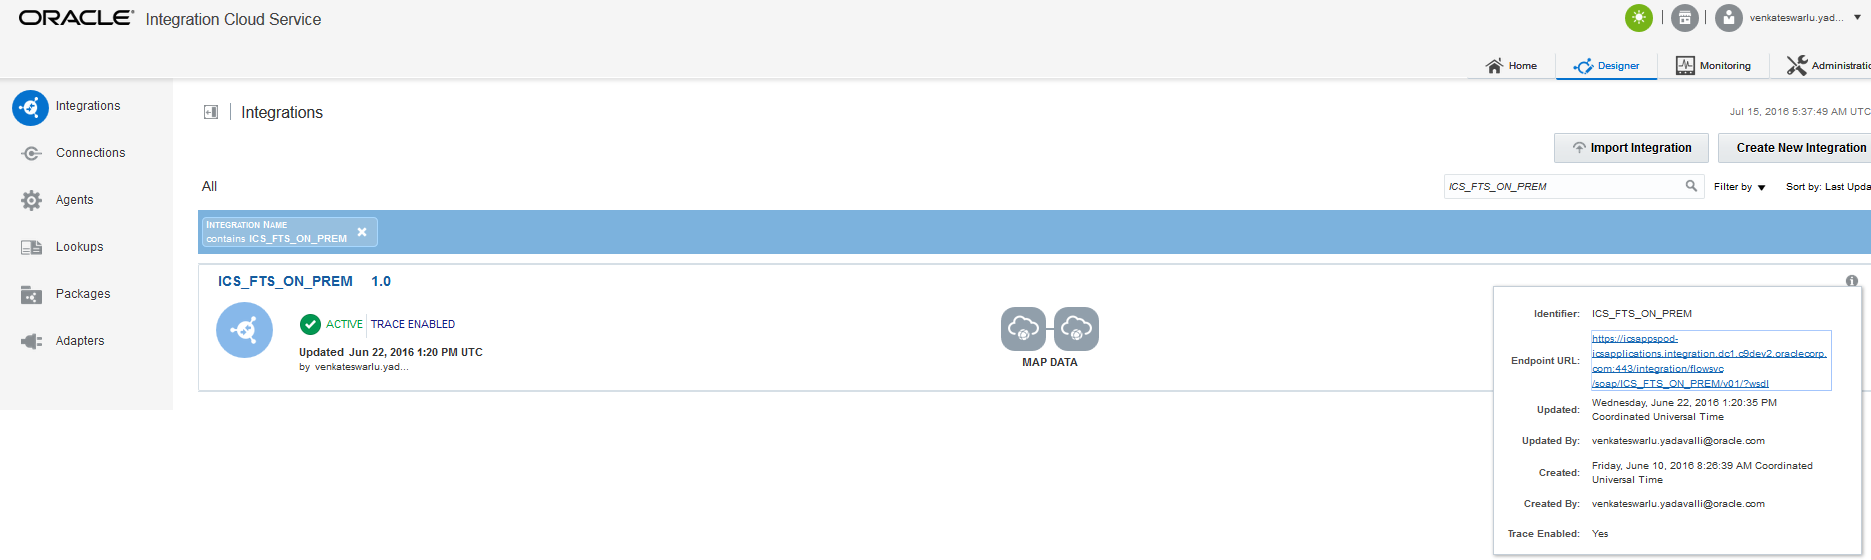
Figure 40: WSDL for Integration
This concludes the Part-2 of this blog post, please refer to Part-3 where all these pieces will be brought together for invoking the ICS integration defined above from the PCS business process defined in Part-1.
The views expressed in this post are my own and do not necessarily reflect the views of Oracle.